本帖最后由 602293544 于 2019-12-5 18:56 编辑

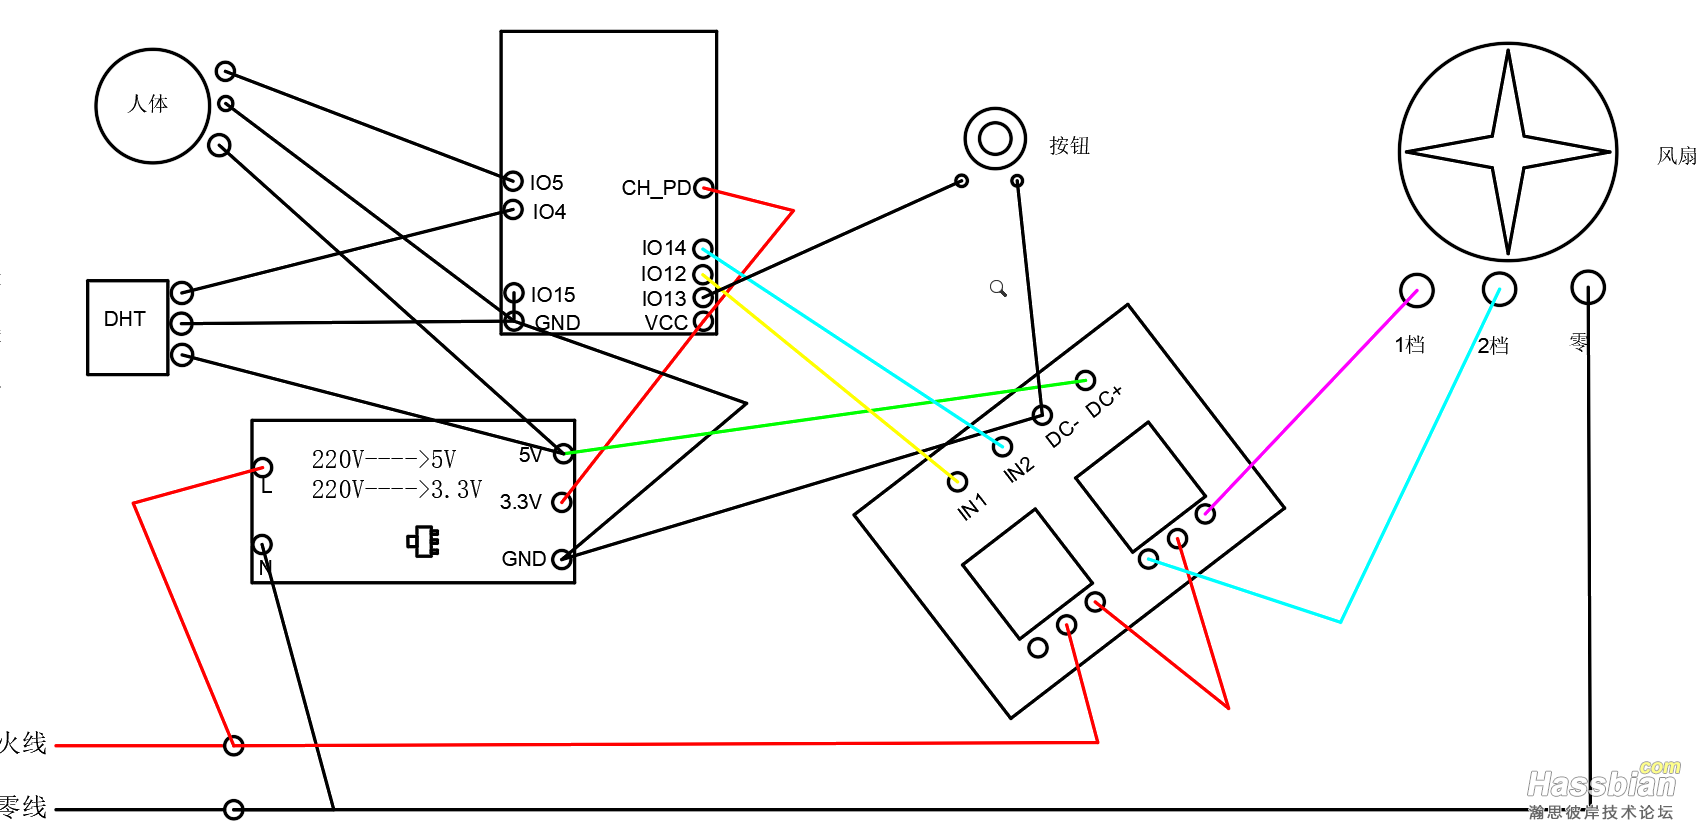
大致的接线图是这样的
动图在这里链接: https://pan.baidu.com/s/1Hpsl7bLSEqkak5rQZ7itQA 提取码: a74y
![{GB]GU74REYB2T@]PR10NUJ.jpg {GB]GU74REYB2T@]PR10NUJ.jpg](https://attachment.hasstatic.com/forum/201912/04/075809yssys6as3s6sgo20.jpg)

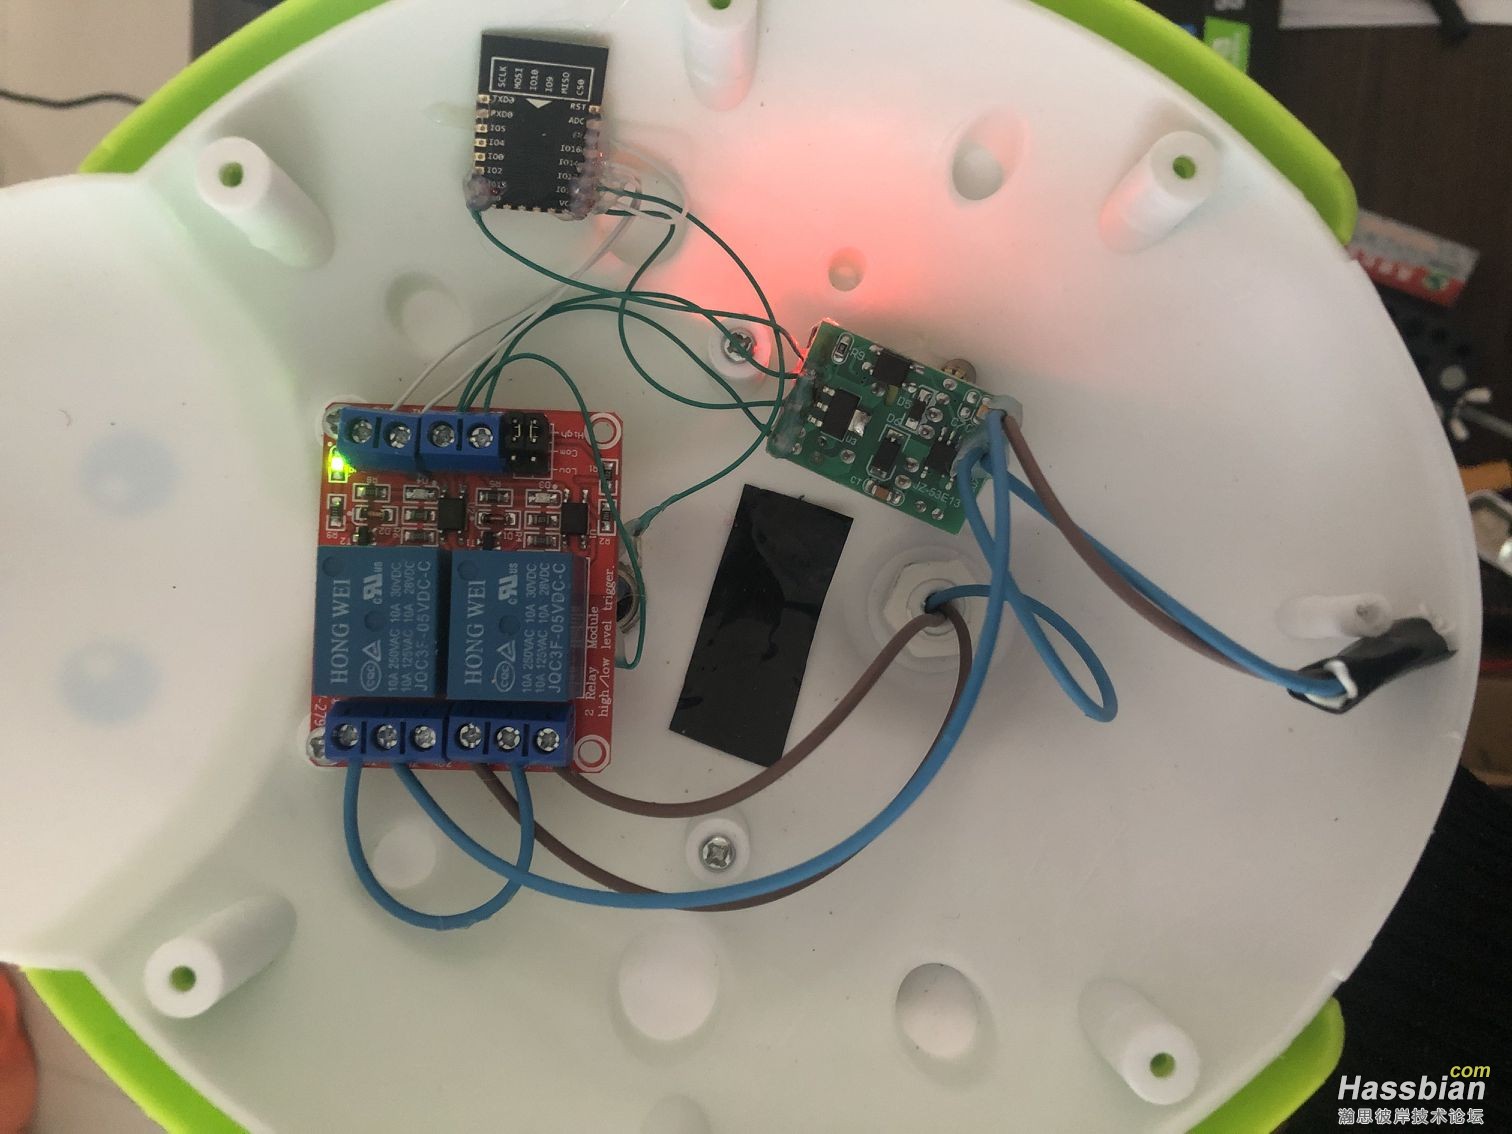
2个继电器1个用来控制火线断路,一个的常开,常闭分别接风扇的1、2档位
为啥要这样接,带自锁互锁功能的继电器太贵了买不起,那有人就会说 esphome代码也能实现自锁互锁功能啊,本来我也是要用代码实现软互锁,但是想想我的风扇只有2个档位,为何不用常开常闭来实现硬件上的互锁(感觉硬件坏了的几率原小于软件)(虽然概率的很低,风扇也不值钱)(就是想玩玩),所以有了这样的实践。
主要是想分享代码(没有任何编程基础,真是太难了),看到论坛的风扇都是一个档位一个按钮,就想着可不可以用1个按钮实现档位切换,最终实现了这样的效果,一个按钮循环切换 { 1档 2档 关闭 },从2档切换1档需要关闭,如果你想直接用按钮切换1、2档,不经过关闭的话稍微改一下就好了(嫌麻烦,我就不实践了,大致就是id(speed) > 1这个1改成0,然后删掉下面的==2),然后加一个长按关闭的代码。
    on_multi_click:
    - timing:
        - ON for 1s to 5s
        - OFF for at least 0.5s
      then:
        - switch.turn_off: relay1
        - switch.turn_off: relay2
esphome代码
substitutions:
  device_name: fan
  wifi_ssid: 'PDCN'
  wifi_password: '12345678'
  wifi_fast_connect: 'false'
  wifi_reboot_timeout: 60s
  ota_password: '123456'
  api_reboot_timeout: 60s


esphome:
  name: $device_name
  platform: ESP8266
  board: esp01_1m

web_server:                                   # 网页控制没啥用
  port: 80
  css_url: https://esphome.io/_static/webserver-v1.min.css
  js_url: https://esphome.io/_static/webserver-v1.min.js

wifi:
  ssid: $wifi_ssid
  password: $wifi_password
  reboot_timeout: $wifi_reboot_timeout
  power_save_mode: none
  fast_connect: $wifi_fast_connect

logger:

api:
  reboot_timeout: $api_reboot_timeout

ota:
  safe_mode: true
  password: $ota_password


# Example output entry

switch:                   #2个继电器

  - platform: gpio
    name: "switch_one"
    pin:
      number: GPIO12
    id: relay1
  - platform: gpio
    name: "switch_two"
    pin:
      number: GPIO14
    id: relay2

  - platform: restart                        #重启按钮
    name: "Restart_fan"

  - platform: template                      #模板1档
    name: "one_level"
    id: s1
    turn_on_action:
      - switch.turn_on: relay1
      - switch.turn_on: relay2

  - platform: template              #模板2档
    name: "two_level"
    id: s2
    turn_on_action:
      - switch.turn_on: relay1
      - switch.turn_off: relay2

  - platform: template                       #  模板关闭
    name: "off"
    id: s3
    turn_on_action:
      - switch.turn_off: relay1
      - switch.turn_off: relay2

sensor:                                               #wifi信号强度
  - platform: wifi_signal
    name: "fan"
    update_interval: 60s


globals:                              #用于按钮当前值计算
  - id: speed
    type: int
    restore_value: no
    initial_value: '2'


binary_sensor:
  - platform: gpio                      #按钮
    name: "fan level"
    pin:
      number: GPIO13
      mode: INPUT_PULLUP
      inverted: yes
    device_class: opening
    on_click:
      min_length: 50ms
      max_length: 350ms
      then:

        - lambda: |-                                 #按钮赋值
            if (id(speed) > 1) {
              id(speed) = 0;
            } else {
              id(speed) += 1;
            }

        - if:                                                  #3个if根据按钮值不同执行不同的命令
            condition:
              lambda: |-
                return id(speed) == 0;
            then:
              - switch.turn_on: relay1
              - switch.turn_on: relay2

        - if:
            condition:
              lambda: |-
                return id(speed) == 1;
            then:
              - switch.turn_on: relay1
              - switch.turn_off: relay2

        - if:
            condition:
              lambda: |-
                return id(speed) == 2;
            then:
              - switch.turn_off: relay1
              - switch.turn_off: relay2
ha中yaml
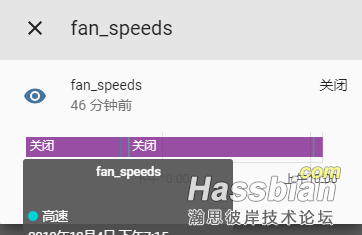
sensor:                                                                           #显示风扇当前状态
  - platform: template
    sensors:
      fan_speeds:
        value_template: >
          {% if states('switch.switch_two') == 'on' %}
            低速
          {% elif states('switch.switch_one') == 'off' %}
            关闭
          {% else %}
            高速
          {% endif %}

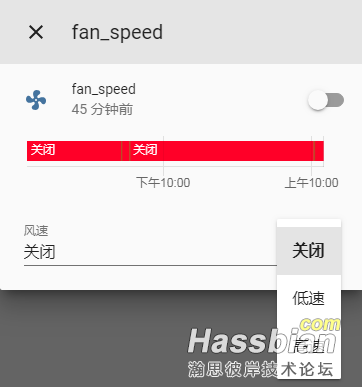
fan:                                                                               #建立一个fan元件
  - platform: template
    fans:
      fan_speed:
        value_template: >
          {% if is_state("sensor.fan_speeds", "关闭") %}
            off
          {% else %}
            on
          {% endif %}
        speed_template: '{{ states("sensor.fan_speeds") }}'
        turn_on:
          - service: switch.turn_on
            entity_id: switch.one
        turn_off:
          - service: switch.turn_off
            entity_id: switch.switch_two
          - service: switch.turn_off
            entity_id: switch.switch_one
        set_speed:
          - service: switch.turn_on
            data_template:
              entity_id: >
                {% if speed == '低速' %}
                  switch.one_level
                {% elif speed == '高速' %}
                  switch.two_level
                {% elif speed == '关闭' %}
                  switch.off
                {% endif %}
        speeds:
          - '关闭'
          - '低速'
          - '高速'


动图太大传不上来了,群里有小视频。
然后在加上人体感应和温度传感器实现自动化大概就这样子
| 
