本帖最后由 slychen 于 2025-1-1 09:53 编辑
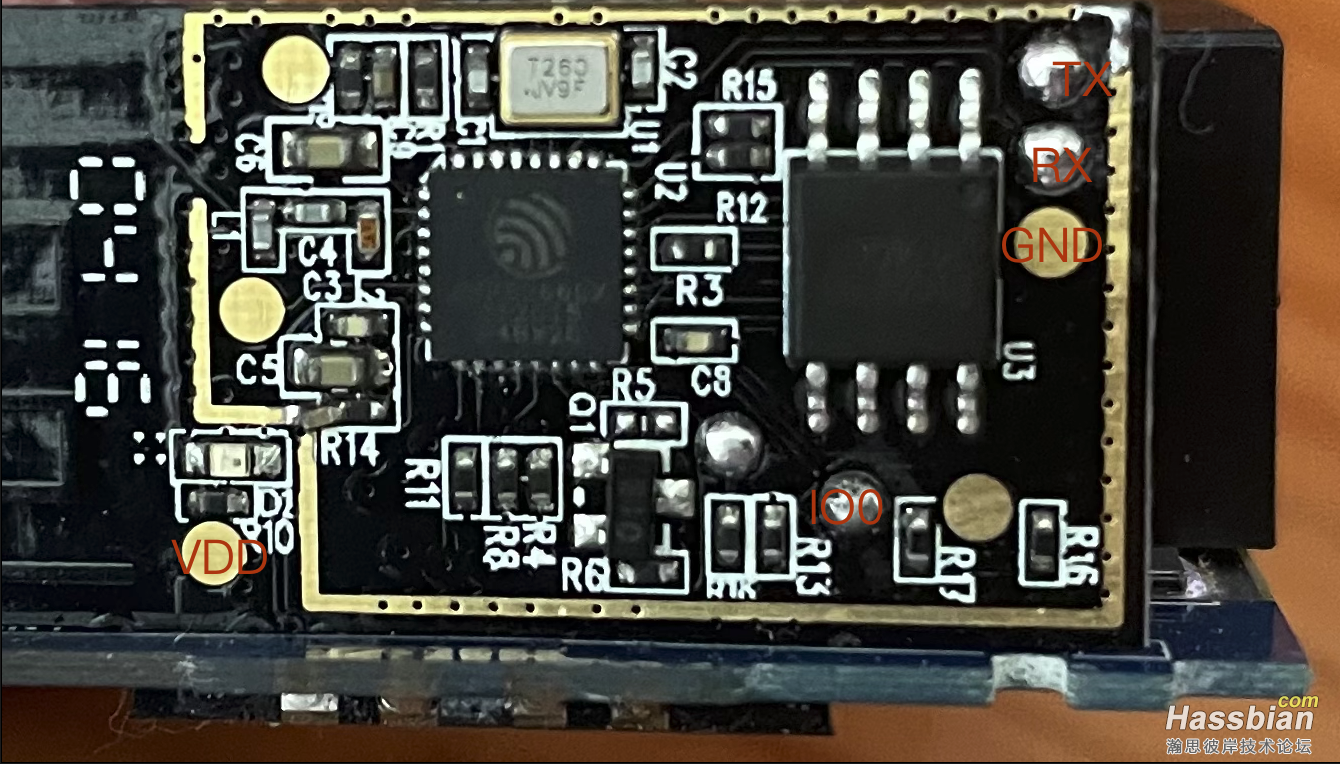
垃圾佬的快乐啊!黄鱼上捡了几个便宜的空调伴侣,本来想改到插座里做个智能插座,看这16A的插座体积有点大,塞进插排比较麻烦就没折腾。这插座的APP不想用,估计也不能用了,拆开看了下是esp8266的芯片本着不浪费的原则就改了个能接入Homeassistant的空调伴侣。
外观
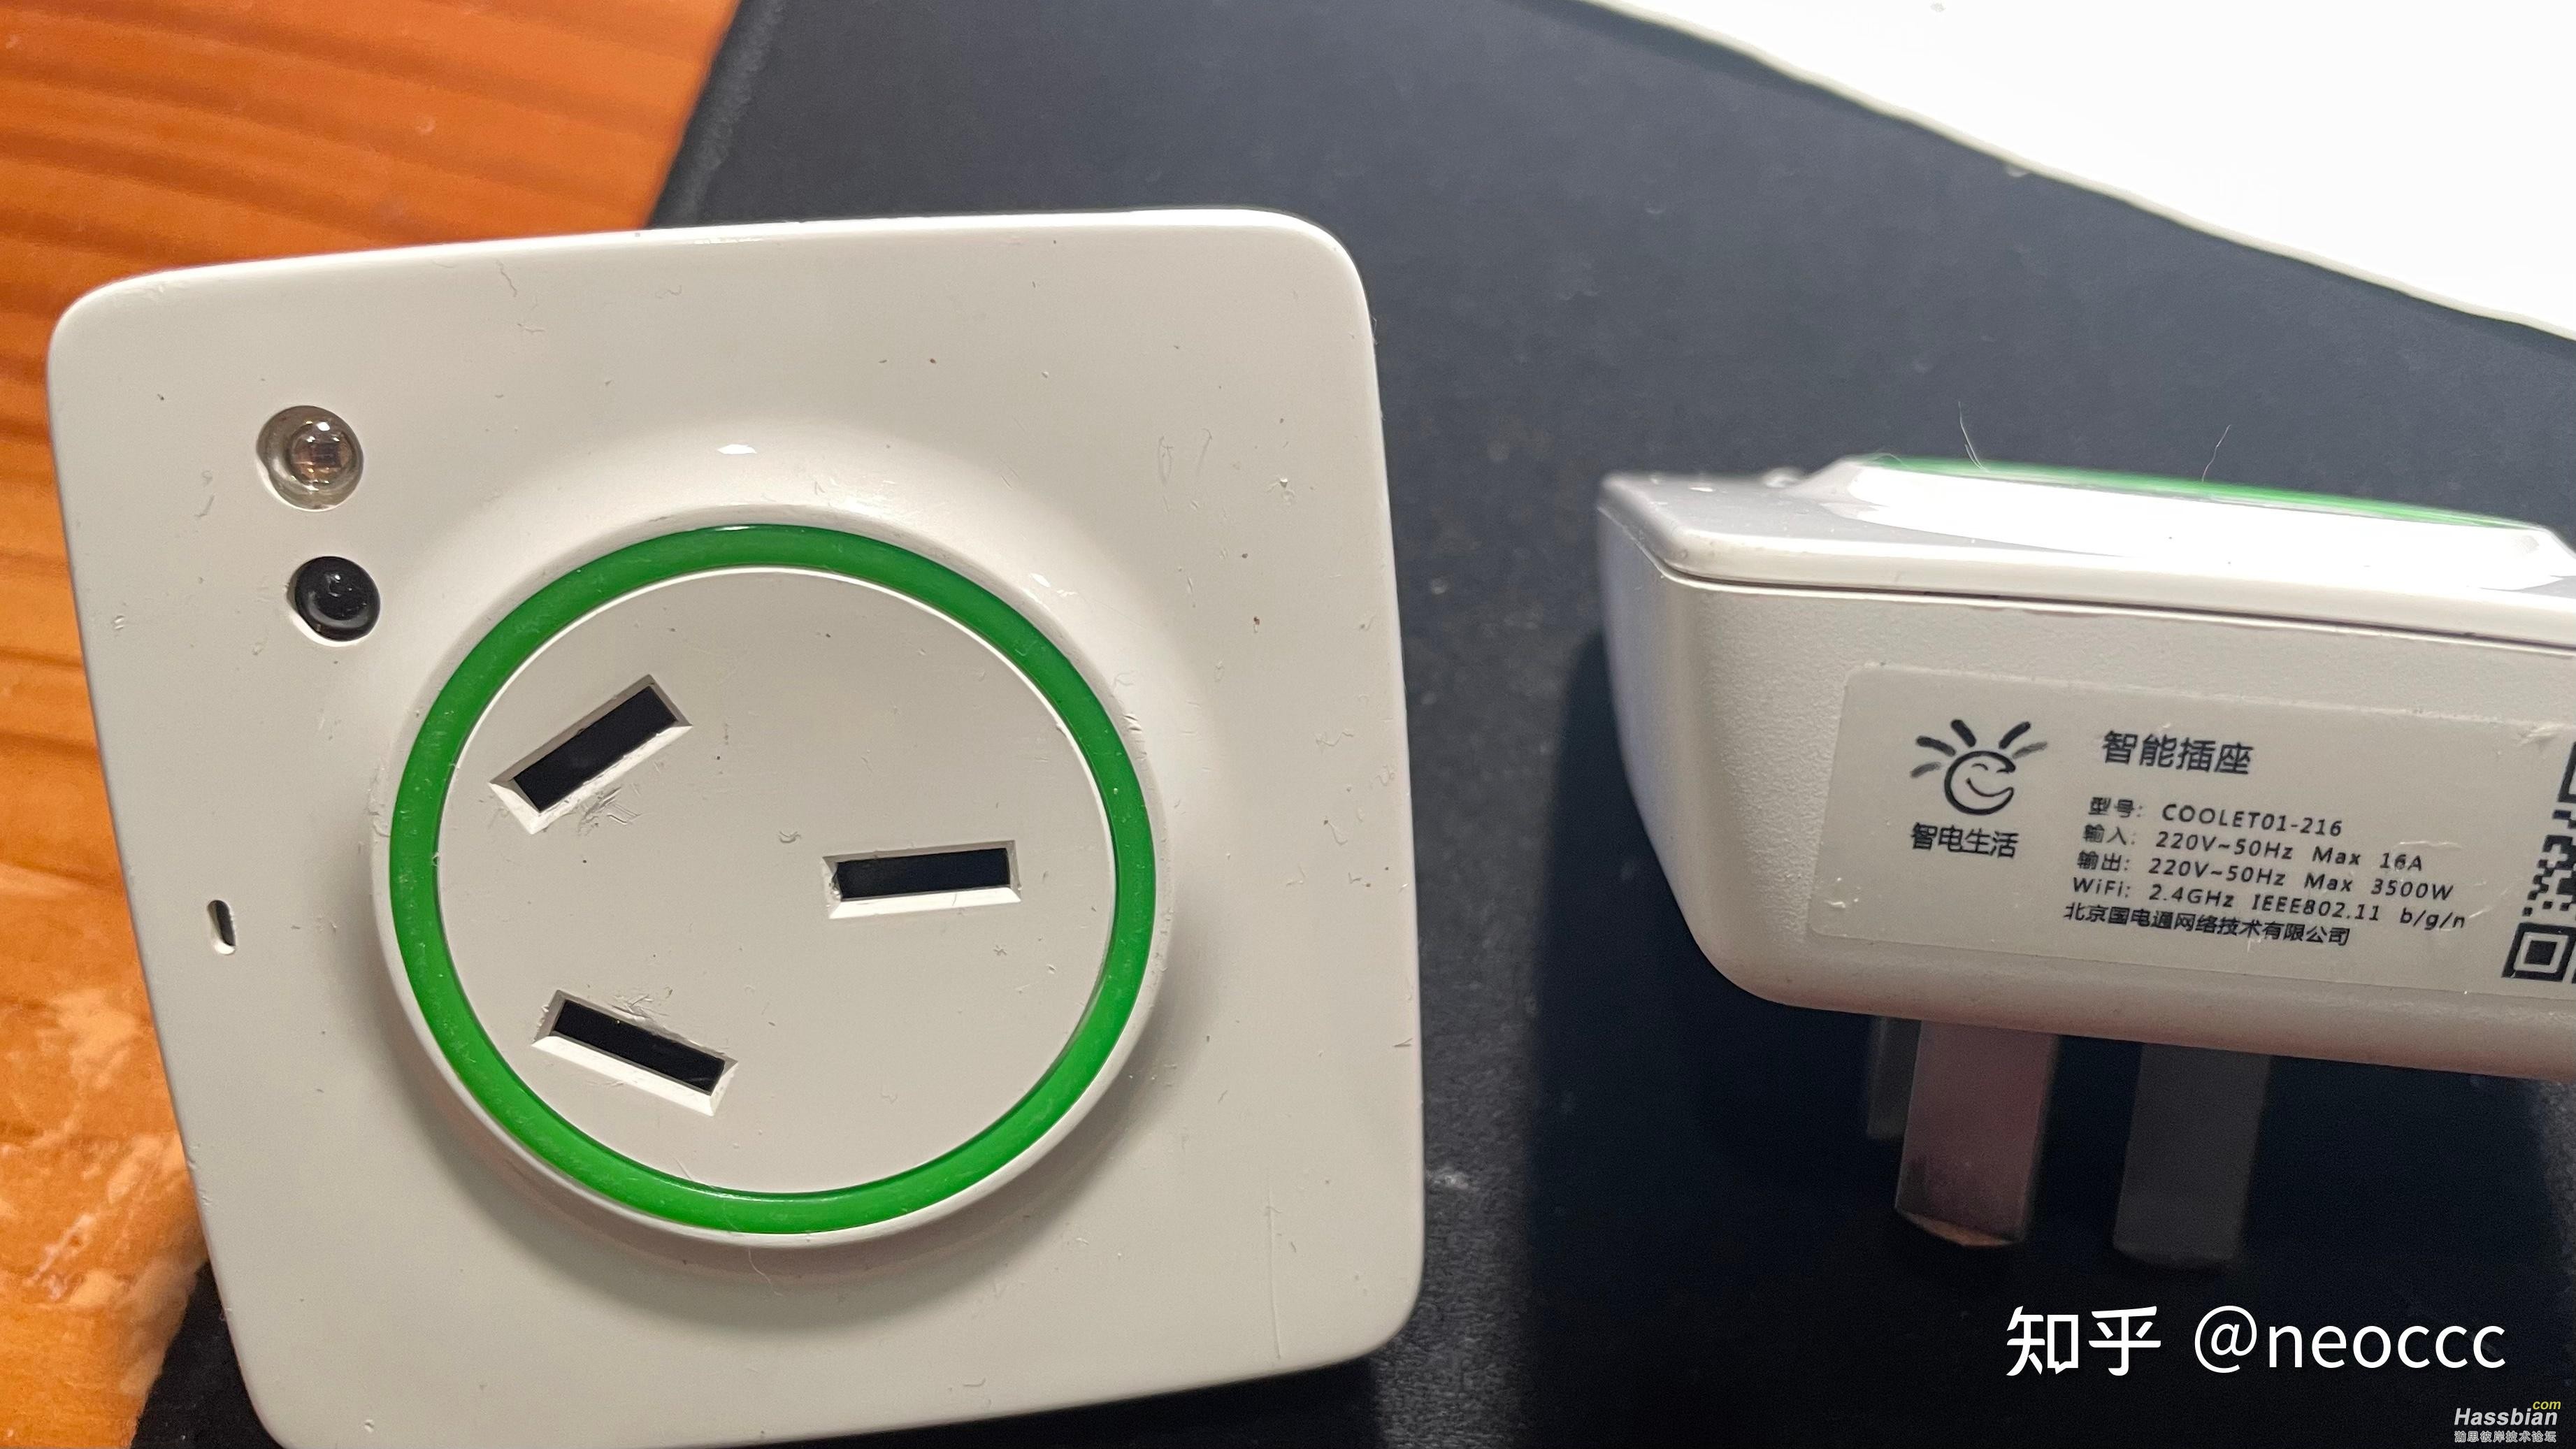
做工用料还行
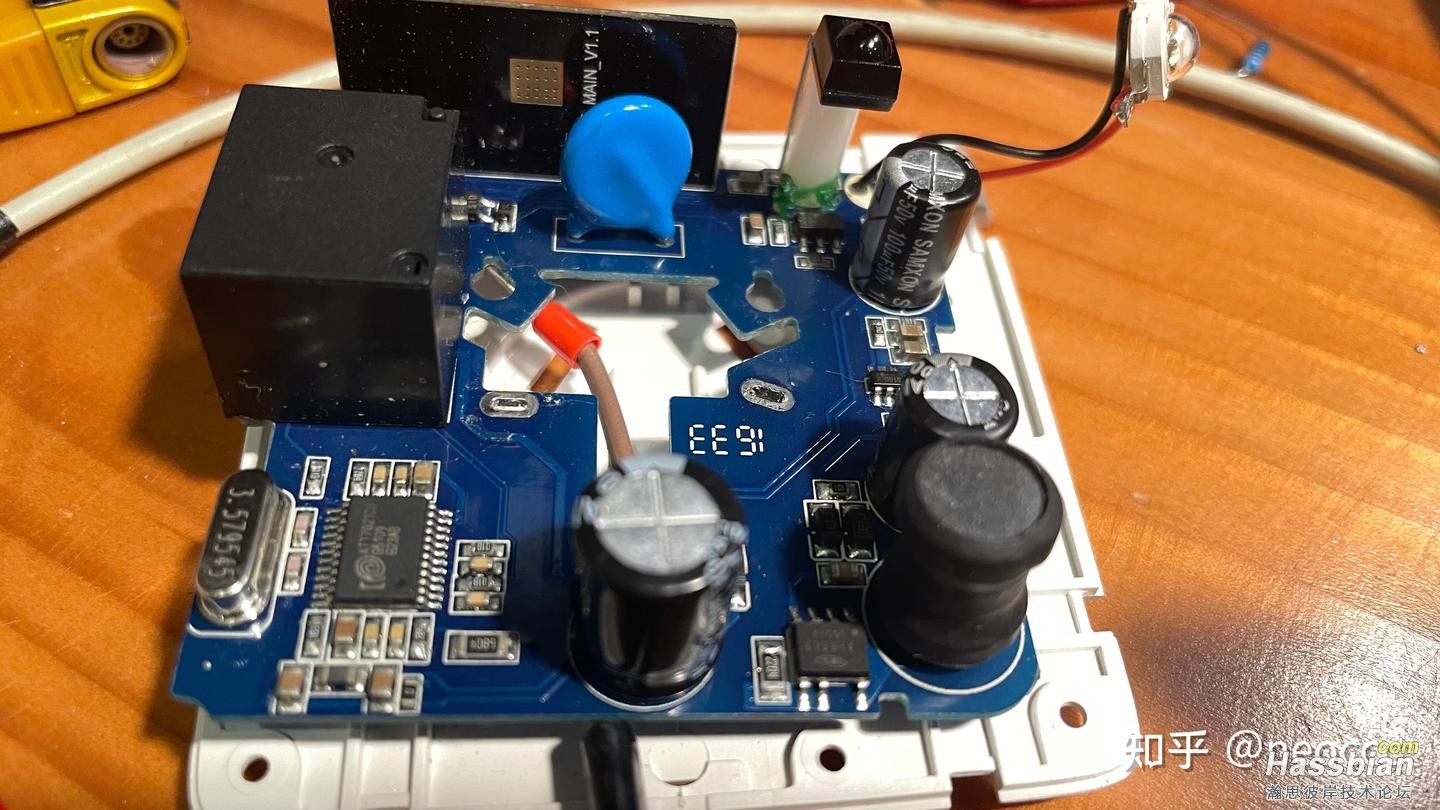
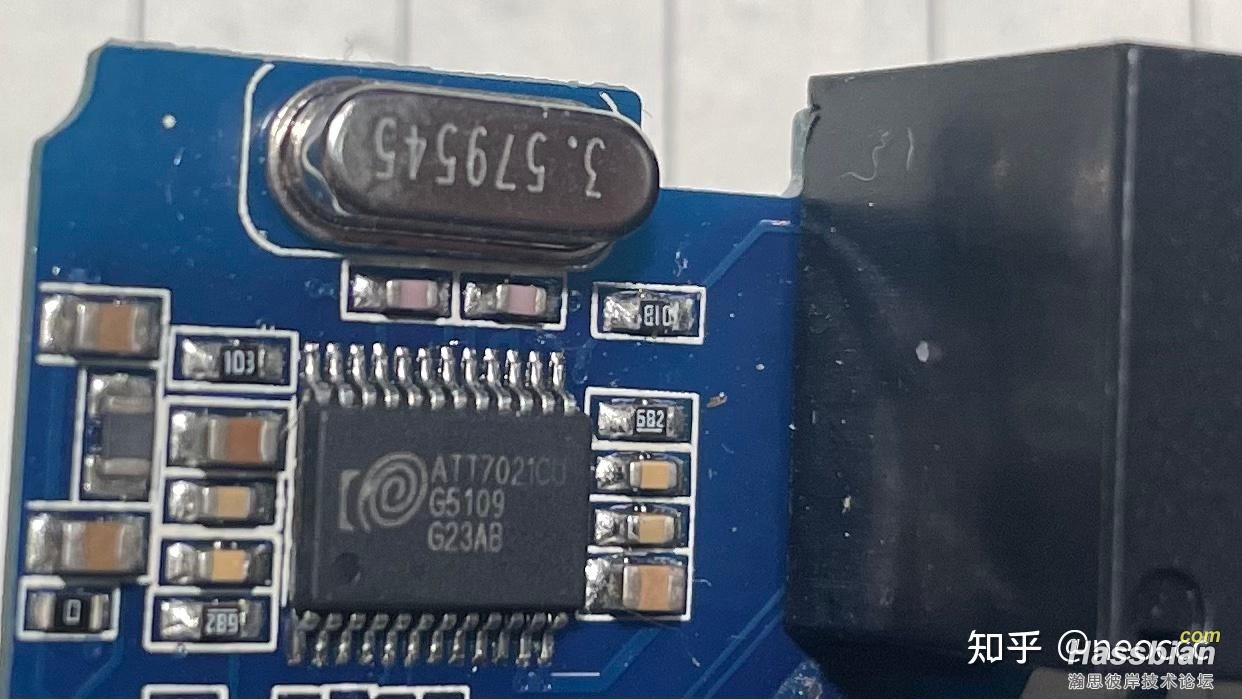
功率监测芯片
电压电流监测芯片
烧录点位图
esphome:
  name: bedroom_ac
  platform: ESP8266
  board: esp01_1m
  friendly_name: BedRoomAC

time:
  - platform: sntp
    id: my_time

web_server:
  port: 80

ota:
  platform: esphome
  password: ""

wifi:
  ssid: !secret wifi_ssid
  password: !secret wifi_password
  reboot_timeout: 0s
  on_connect:
    - light.turn_on: id_led_api_link
  on_disconnect:
    - light.turn_on:
        id: id_led_status
        brightness: 100%
        effect: "fast"
  ap:
    ssid: "BedRoomAC"
    password: ""

logger:
api:

substitutions:  #指定各IO口功能便于记忆
  ir_receiver_pin: GPIO5
  ir_transmitter_pin: GPIO14
  led_status_pin: GPIO13
  relay_pin: GPIO15
  power_senser_pin: GPIO12
output:
  - platform: esp8266_pwm
    id: id_pin_led_status
    pin: ${led_status_pin}
    inverted: false
switch:  # 继电器
  - platform: gpio
    name: "BedRoomACSwitch"
    pin: ${relay_pin}
    id: relay
    inverted: true
    restore_mode: ALWAYS_ON

button:
  - platform: template
    name: "Reset Energy Consumption"
    id: reset_kwh
    on_press:
      then:
        - lambda: |-
            id(total_kwh) = 0.0;  // 重置总用电量
light:  #连接状态灯
  - platform: status_led
    name: "API Link Led"
    id: id_led_api_link
    output: id_pin_led_status
    internal: true  #不在HA中显示
  - platform: monochromatic
    name: "StatusLed"
    id: id_led_status
    output: id_pin_led_status
    default_transition_length: 0s
    internal: true
    effects:
      - pulse:
          name: "fast"
          transition_length: 500ms
          update_interval: 1s
globals:
  - id: total_kwh
    type: float
    initial_value: "0.0"
sensor: #功率传感器配置
  - platform: pulse_counter
    pin: ${power_senser_pin}
    name: "Power (W)"
    unit_of_measurement: "W"
    icon: "mdi:flash"
    filters:
      - lambda: |-
          const float frequency_to_power_factor = 0.4115; // 校准因子
          return x * frequency_to_power_factor;
    id: power
    update_interval: 10s
  - platform: template
    name: "Energy Consumption"
    unit_of_measurement: "kWh"
    icon: "mdi:counter"
    accuracy_decimals: 3
    lambda: |-
      return id(total_kwh);
    update_interval: 10s
    # 累加功率值
    on_value:
      then:
        - lambda: |-
            id(total_kwh) += (id(power).state * 10 / 3600.0);  // 每10秒累加到总能耗
            id(total_kwh) = fmax(0.0, id(total_kwh));          // 防止出现负值
    filters:
        - multiply: 0.001
  - platform: template #虚拟室温,空调遥控需要
    name: "BedRoom Temperature"
    id: room_temperature
    unit_of_measurement: "°C"
    accuracy_decimals: 1
    update_interval: 10s
    lambda: |-
      return 25.0;  // 固定值调试

remote_receiver: #红外接收
  id: ir_receiver
  pin:
    number: ${ir_receiver_pin}
    inverted: true
    mode:
      input: true
      pullup: true
  dump: nec
  tolerance: 55%  #信号强度
remote_transmitter: #红外发射
  id: ir_transmitter
  pin:
    number: ${ir_transmitter_pin}
  carrier_duty_percent: 50%


climate: #下面为格力空调,别的空调更改platform,参考esphome标准文档https://esphome.io/components/climate/climate_ir.html 或者弄个按钮切换各品牌。
  - platform: gree
    name: "AC"
    sensor: room_temperature
    model: yan
    receiver_id: ir_receiver
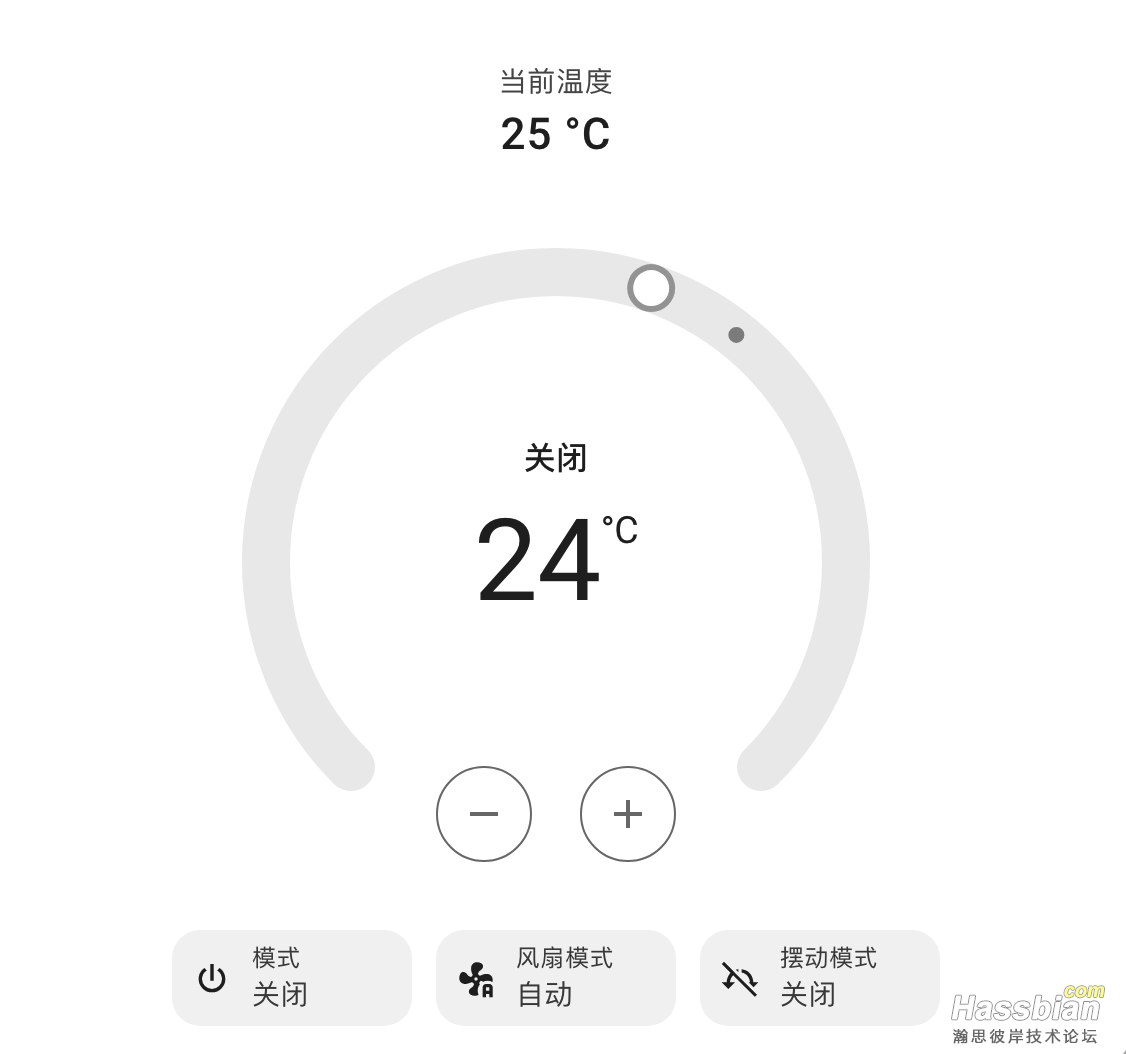
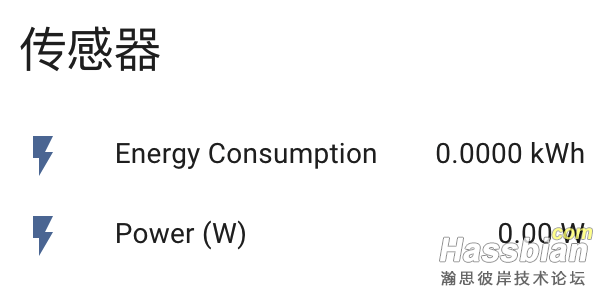
试了下能控制客厅的3匹风管机和房间的分体机,懒得再折腾了,留着备用
|