本帖最后由 hugh_jie 于 2023-12-15 22:39 编辑
帖子中编码器部分代码参考了:
https://bbs.hassbian.com/forum.p ... tid=7200&pid=327693
切换灯光部分代码参考了:
小风扇小改造
https://bbs.hassbian.com/thread-8776-1-1.html
非常感谢
配件
- ESP32一个,ESP8266也行
- 编码器一个
- ws2812灯带一条,长度自定,宽度10mm,长度需要注意,每颗灯珠标称0.3w,数量需要和电源匹配,我选的60灯的,用了44cm,26颗,亮度感觉有一点点低了
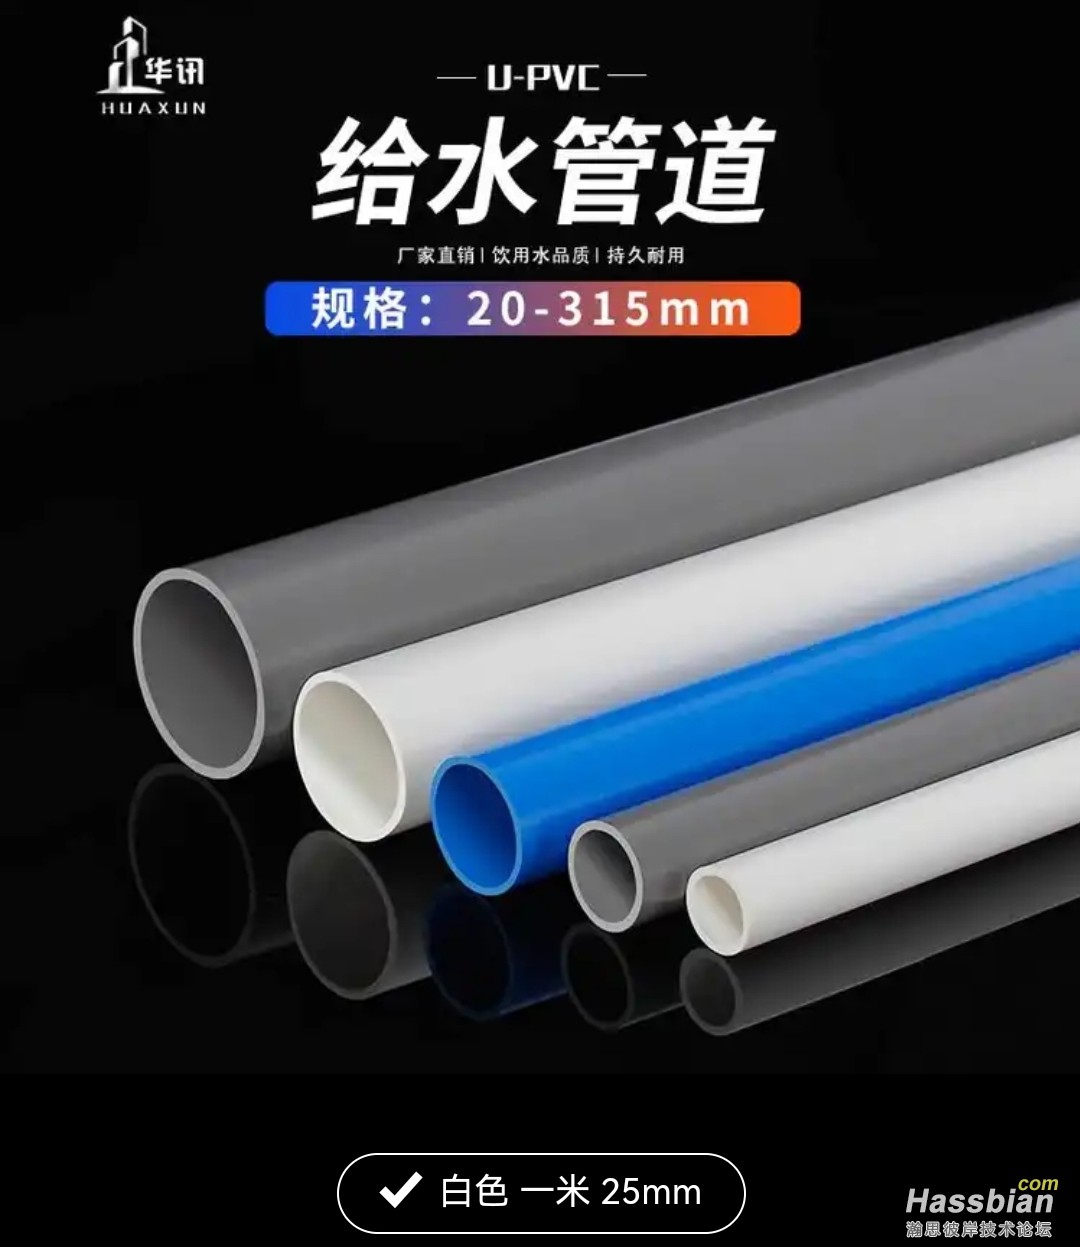
- 水管一根,长度自定,外径25mm,壁厚2mm
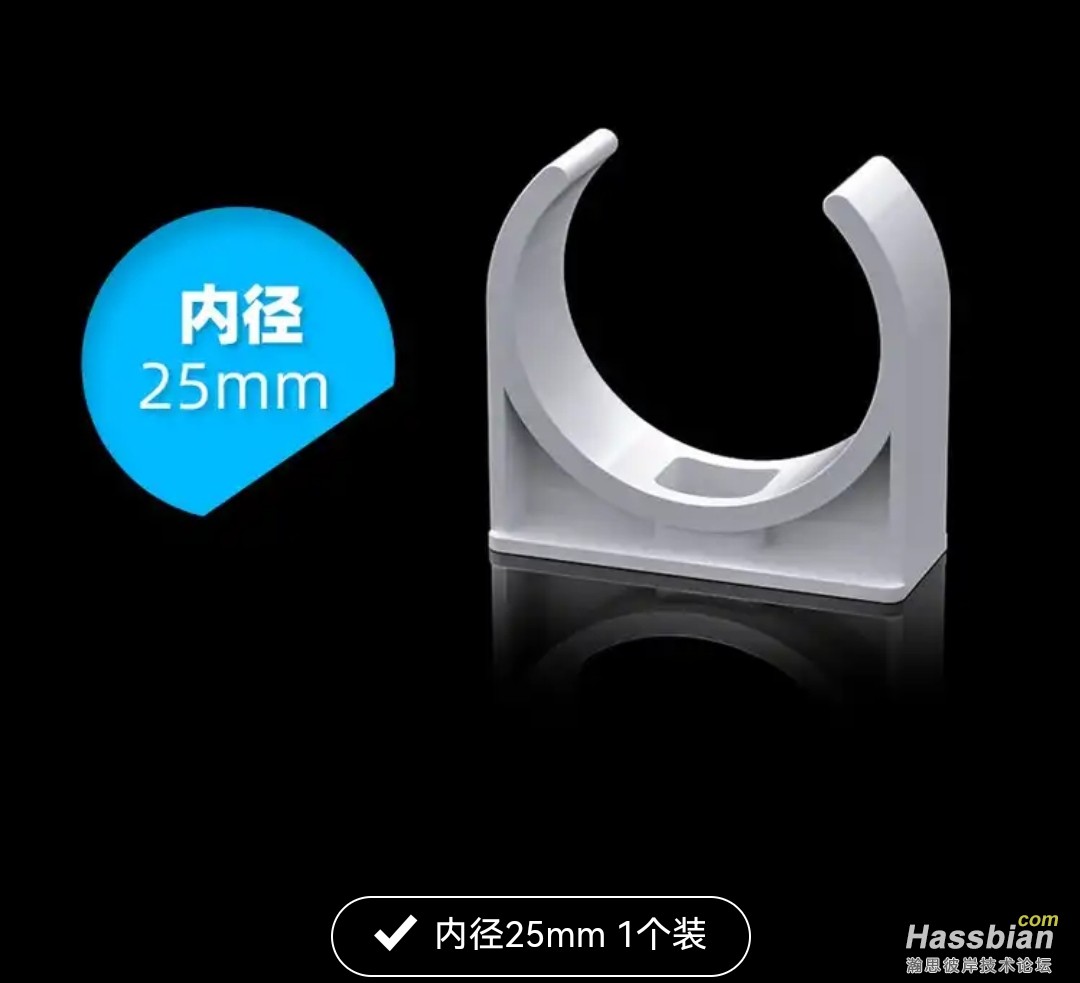
- 25mm内径水管夹2个
- v型灯带反光槽一根,长度自定
- 磁铁若干(可选)
组装
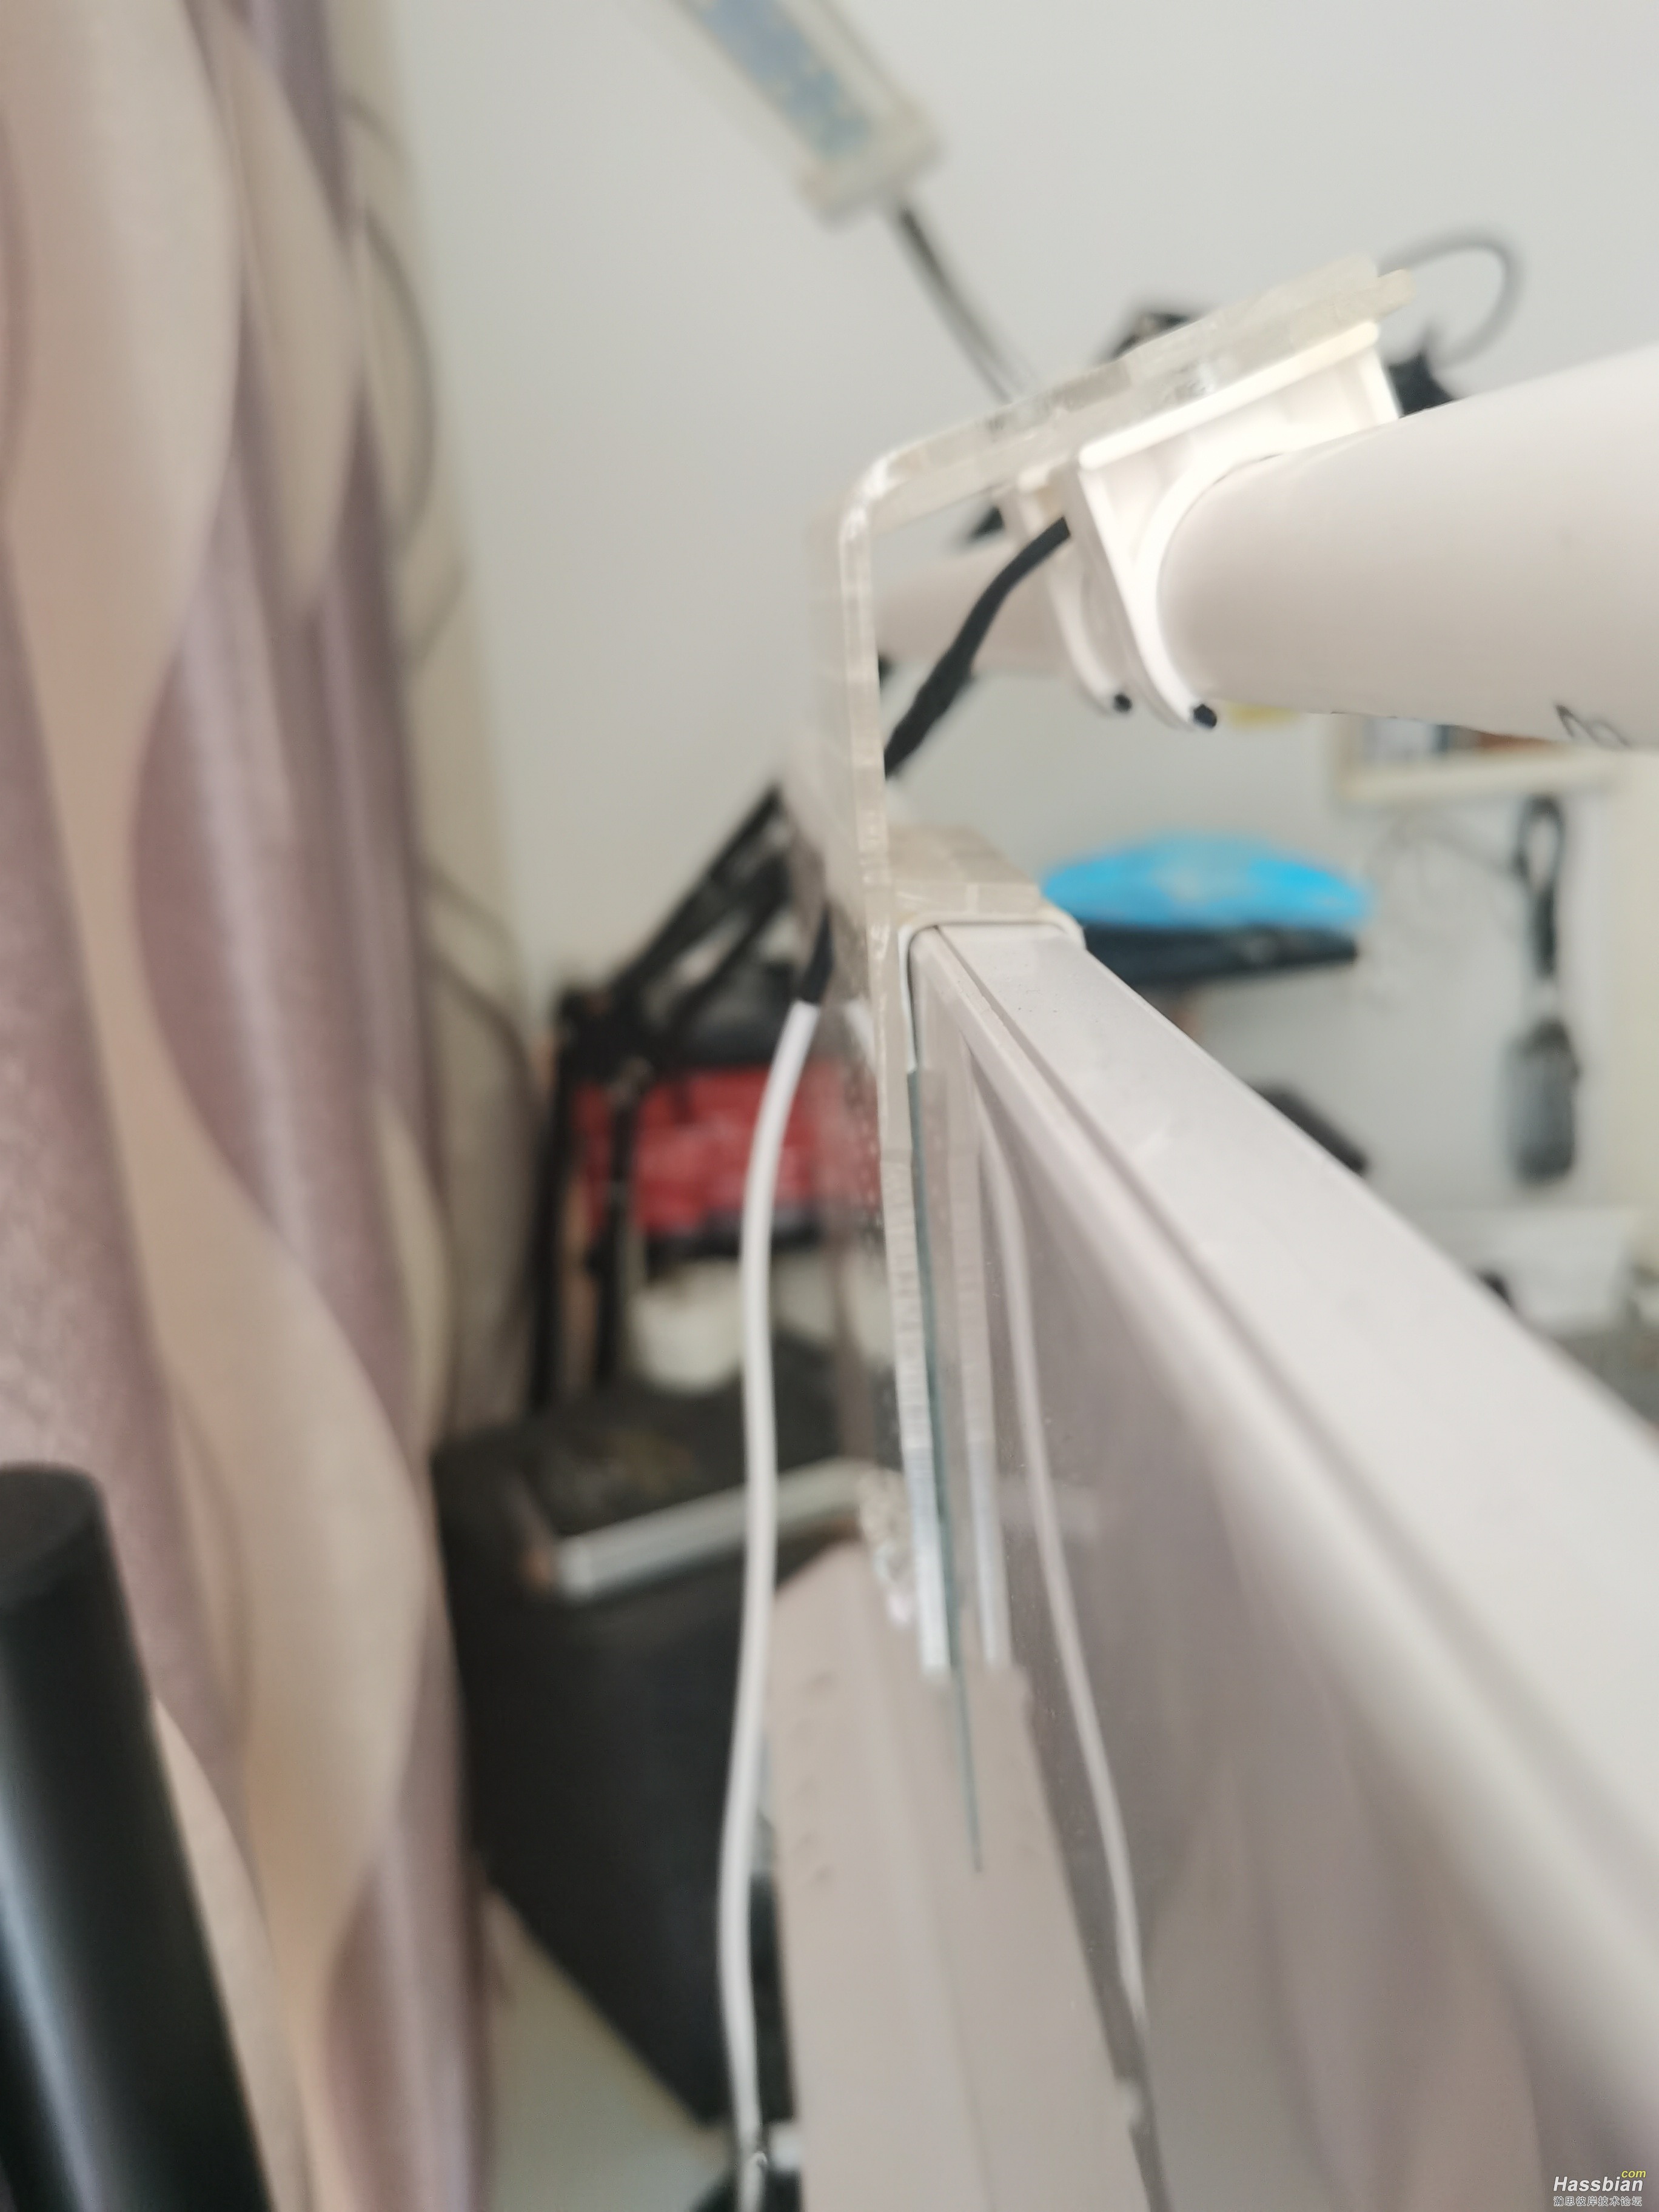
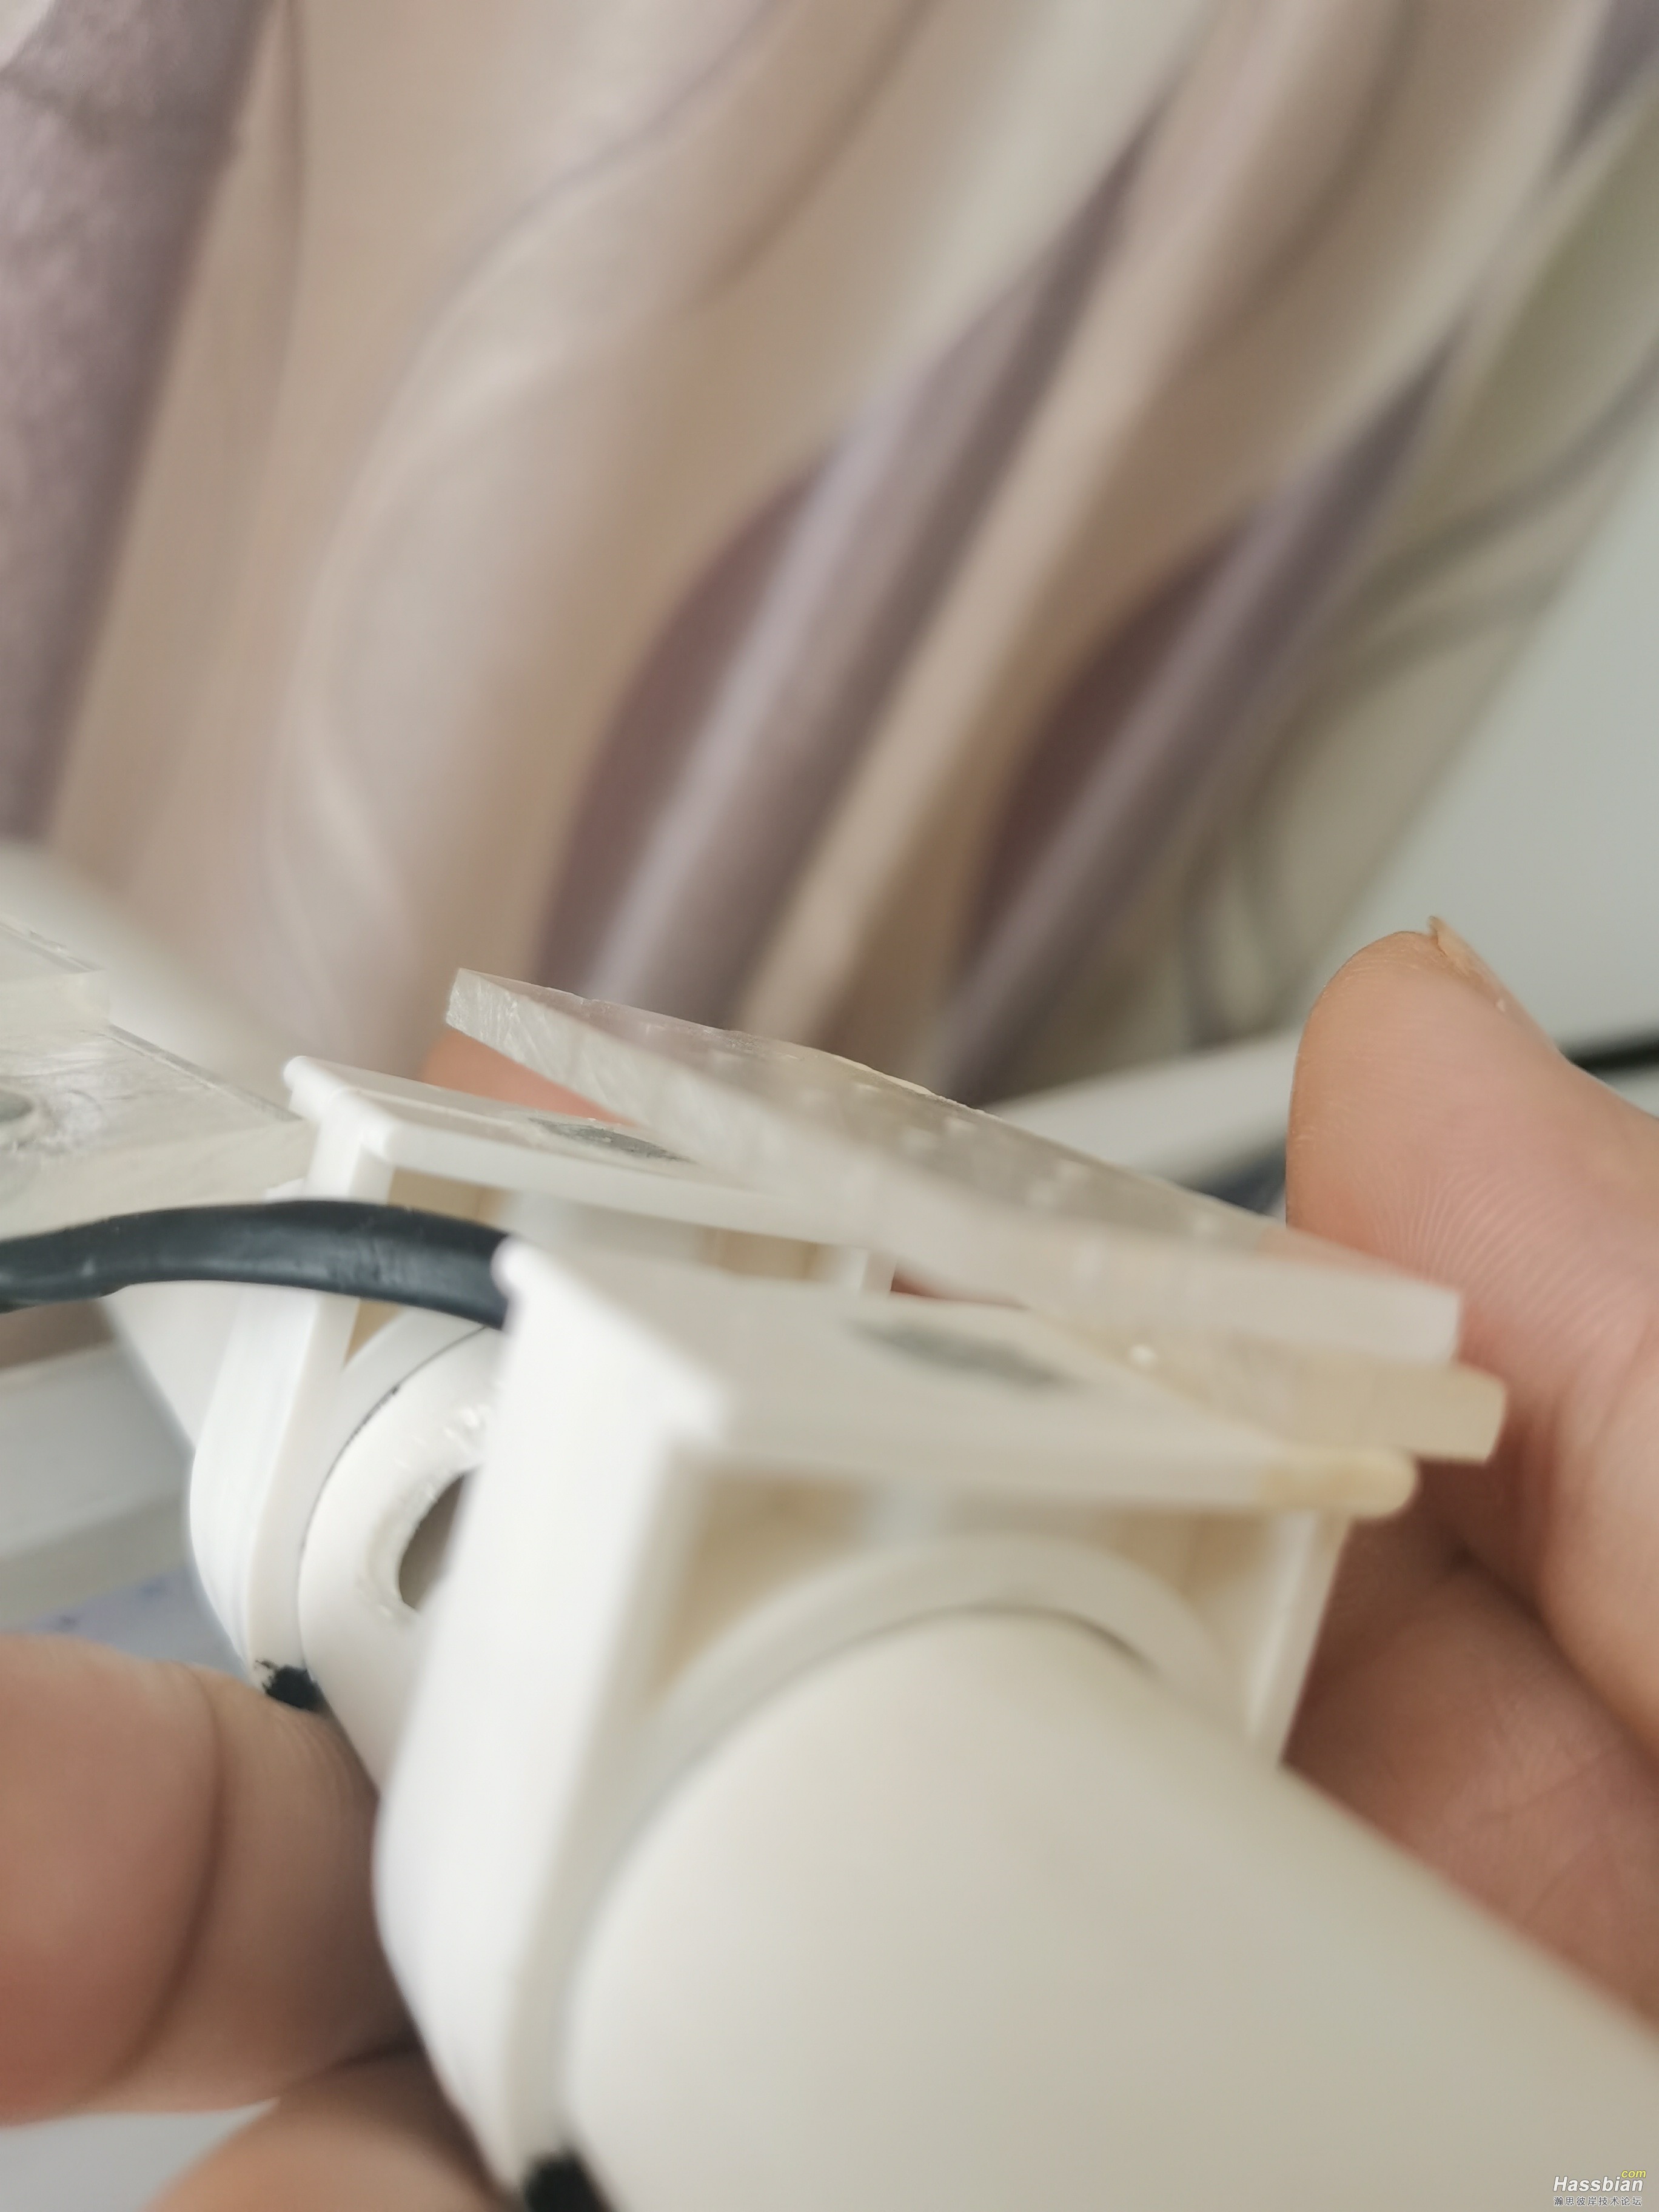
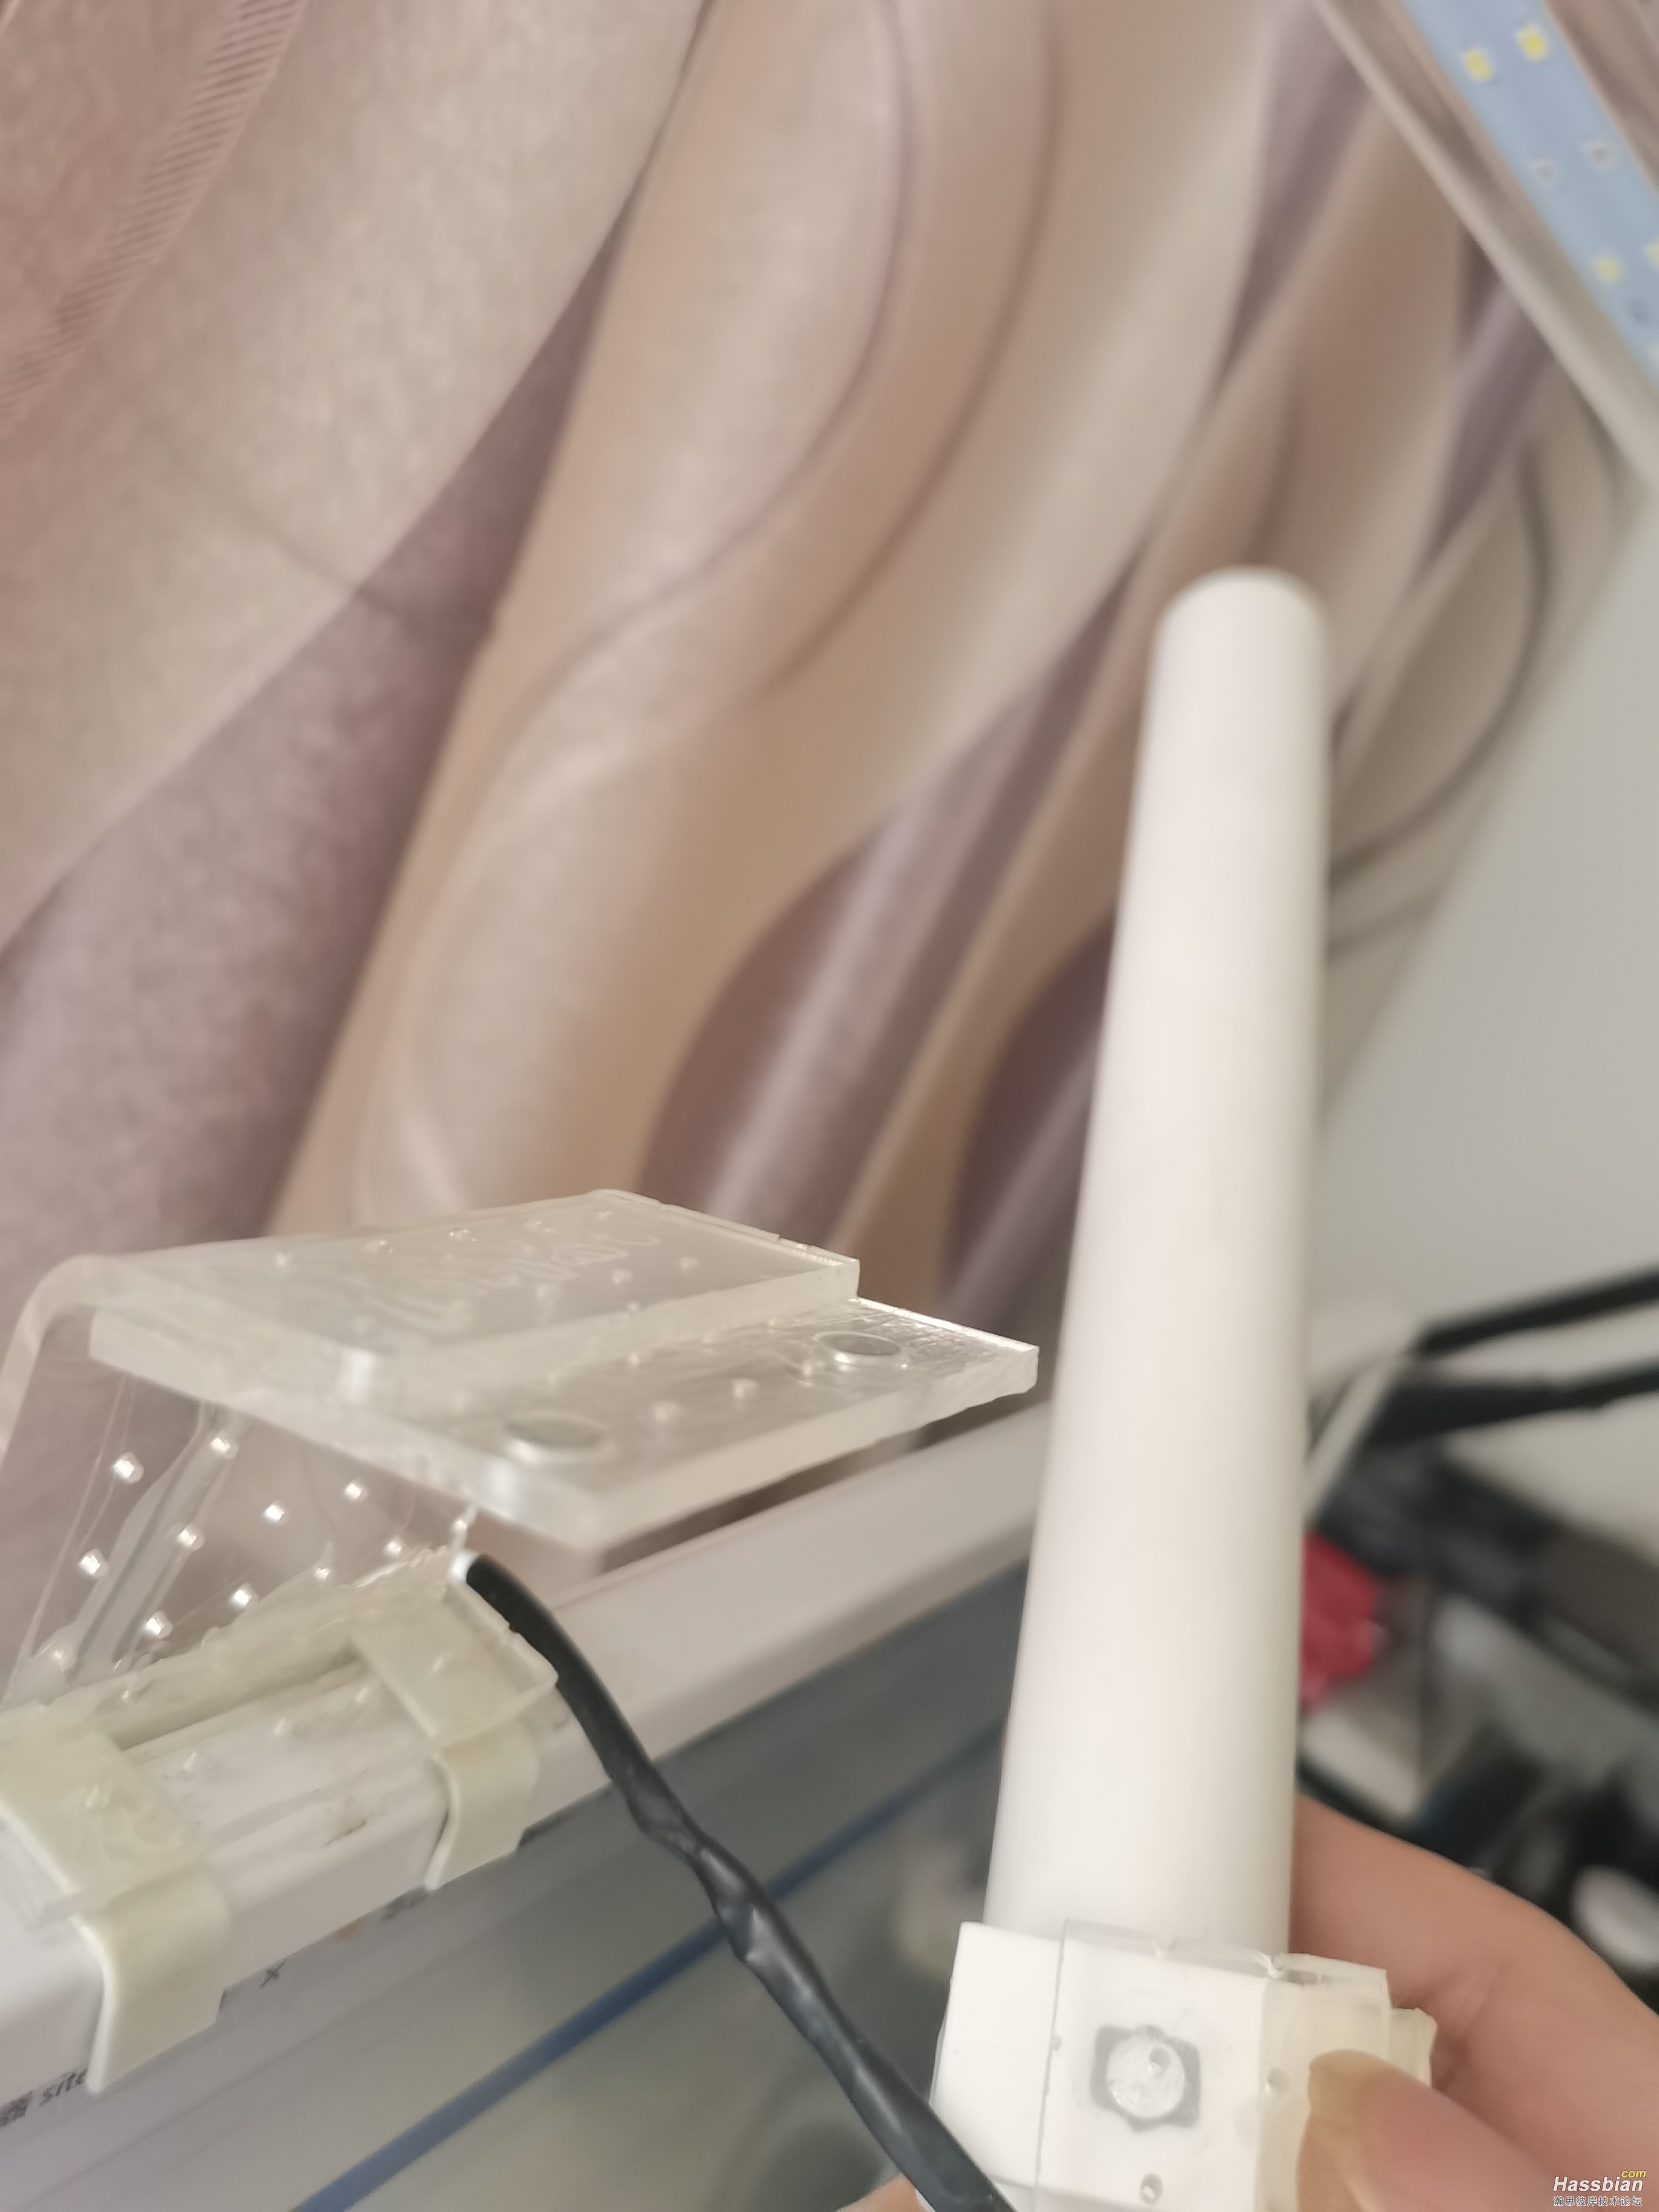
唯一需要注意的就是灯带贴底边槽,放在它设计的槽的话灯光范围会很大
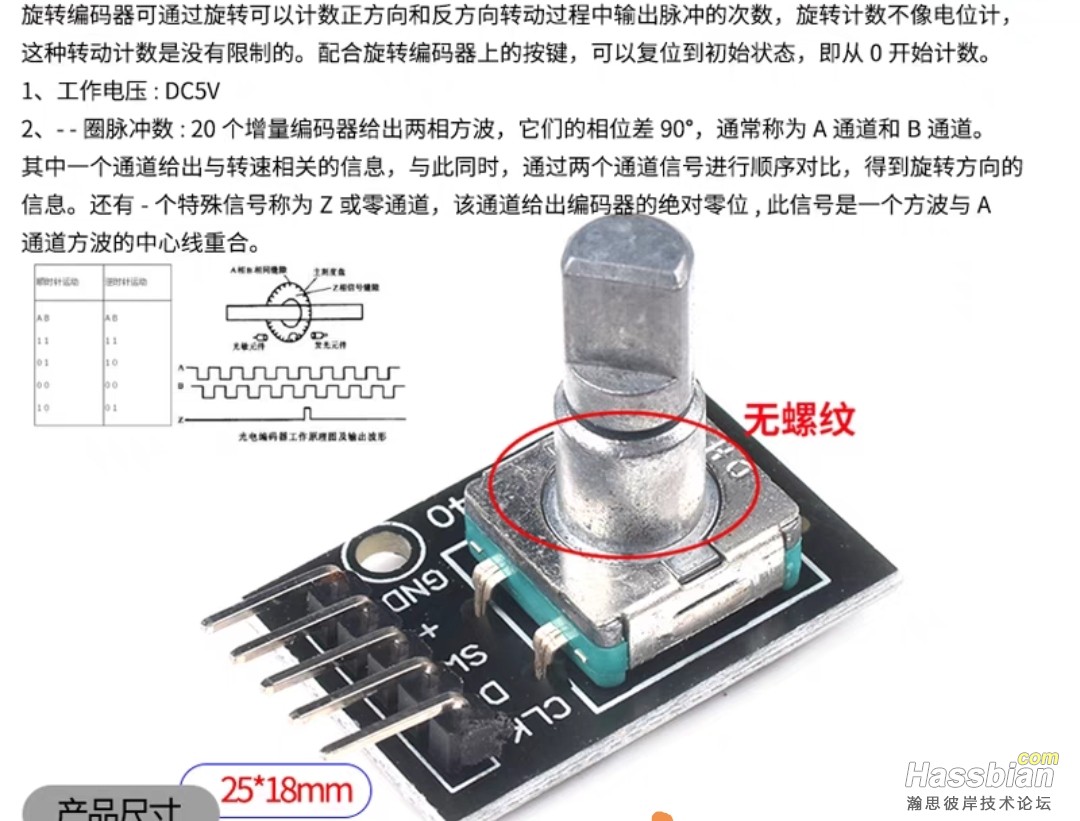
开口和灯带
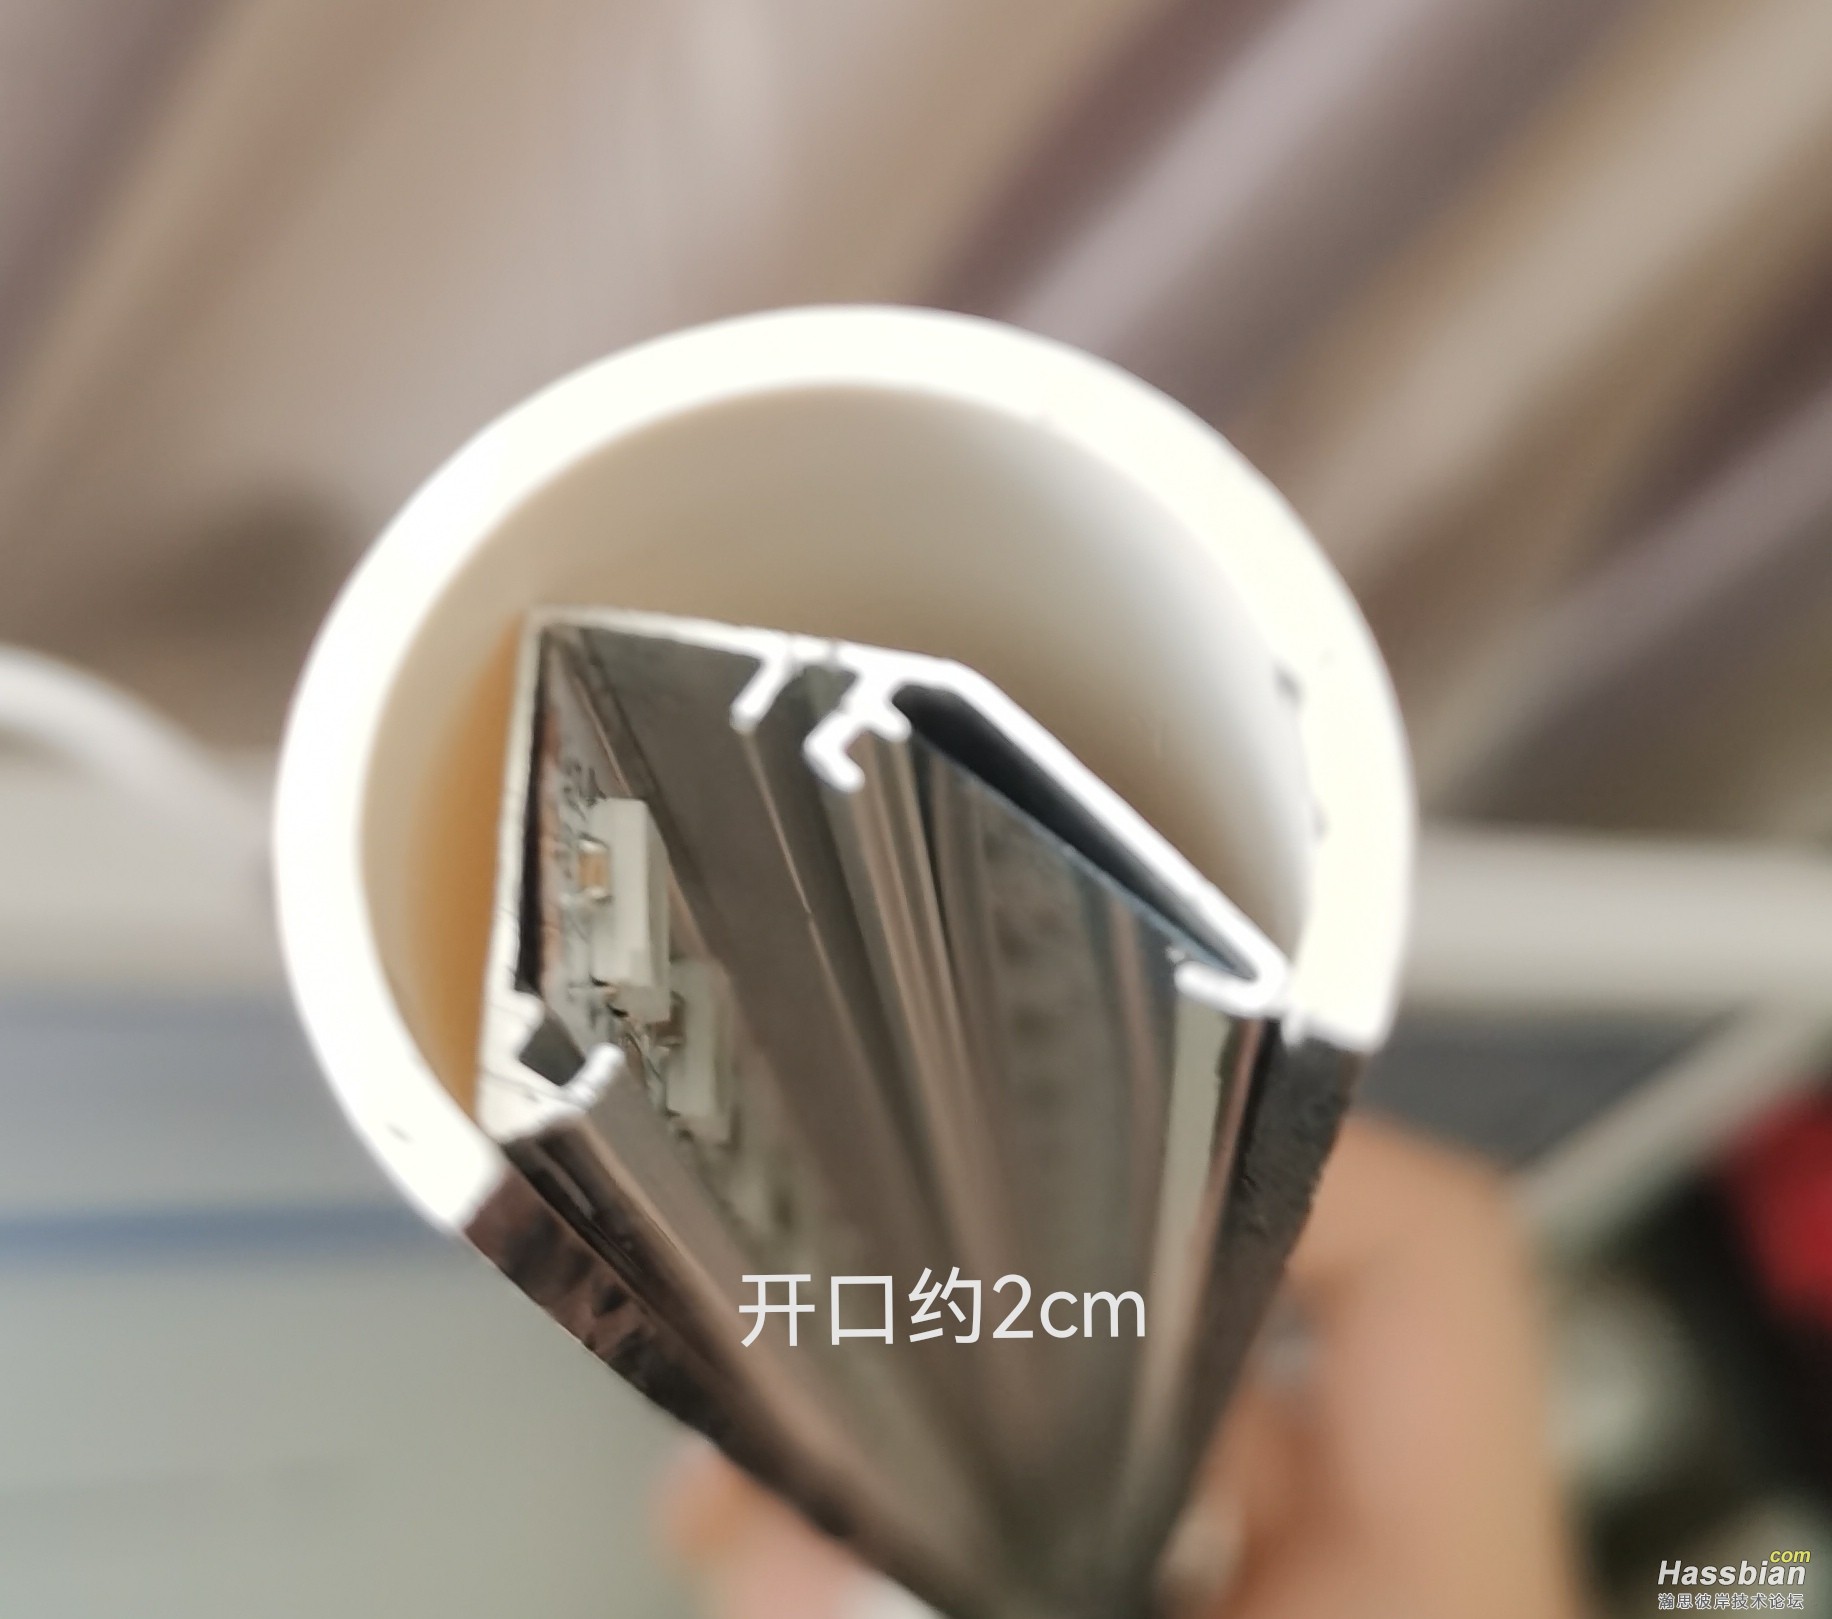
正面图
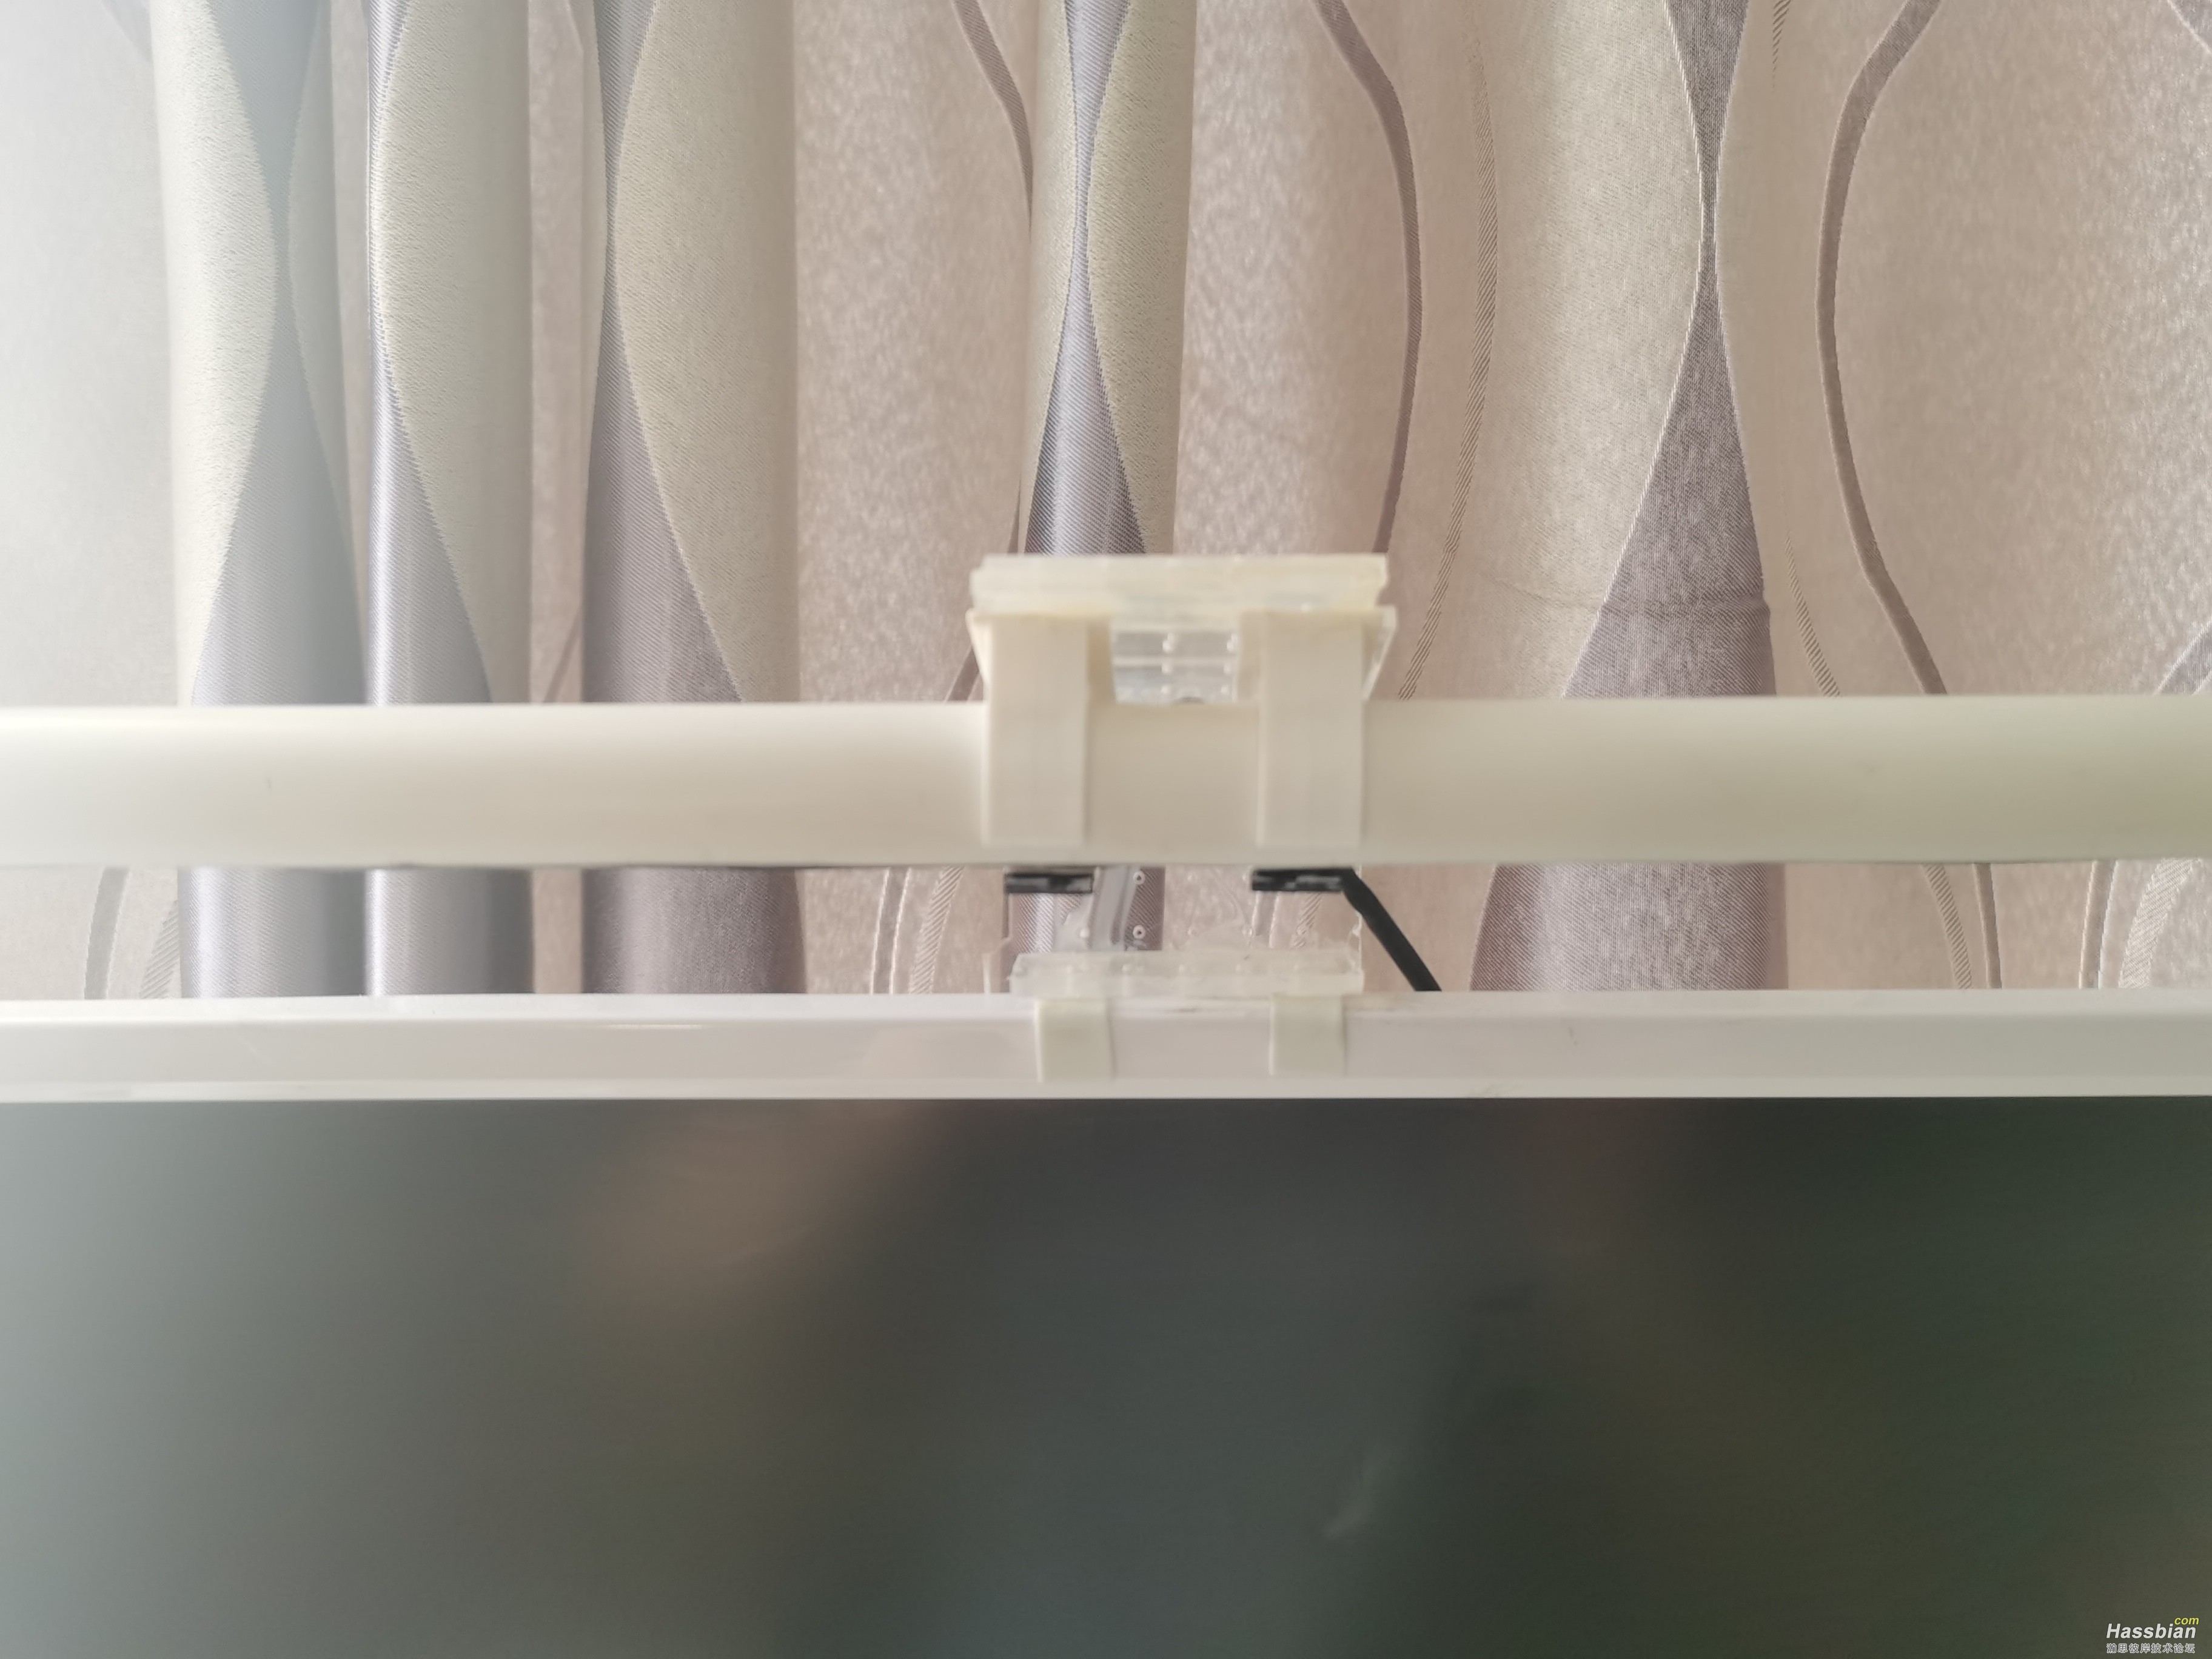
挂座
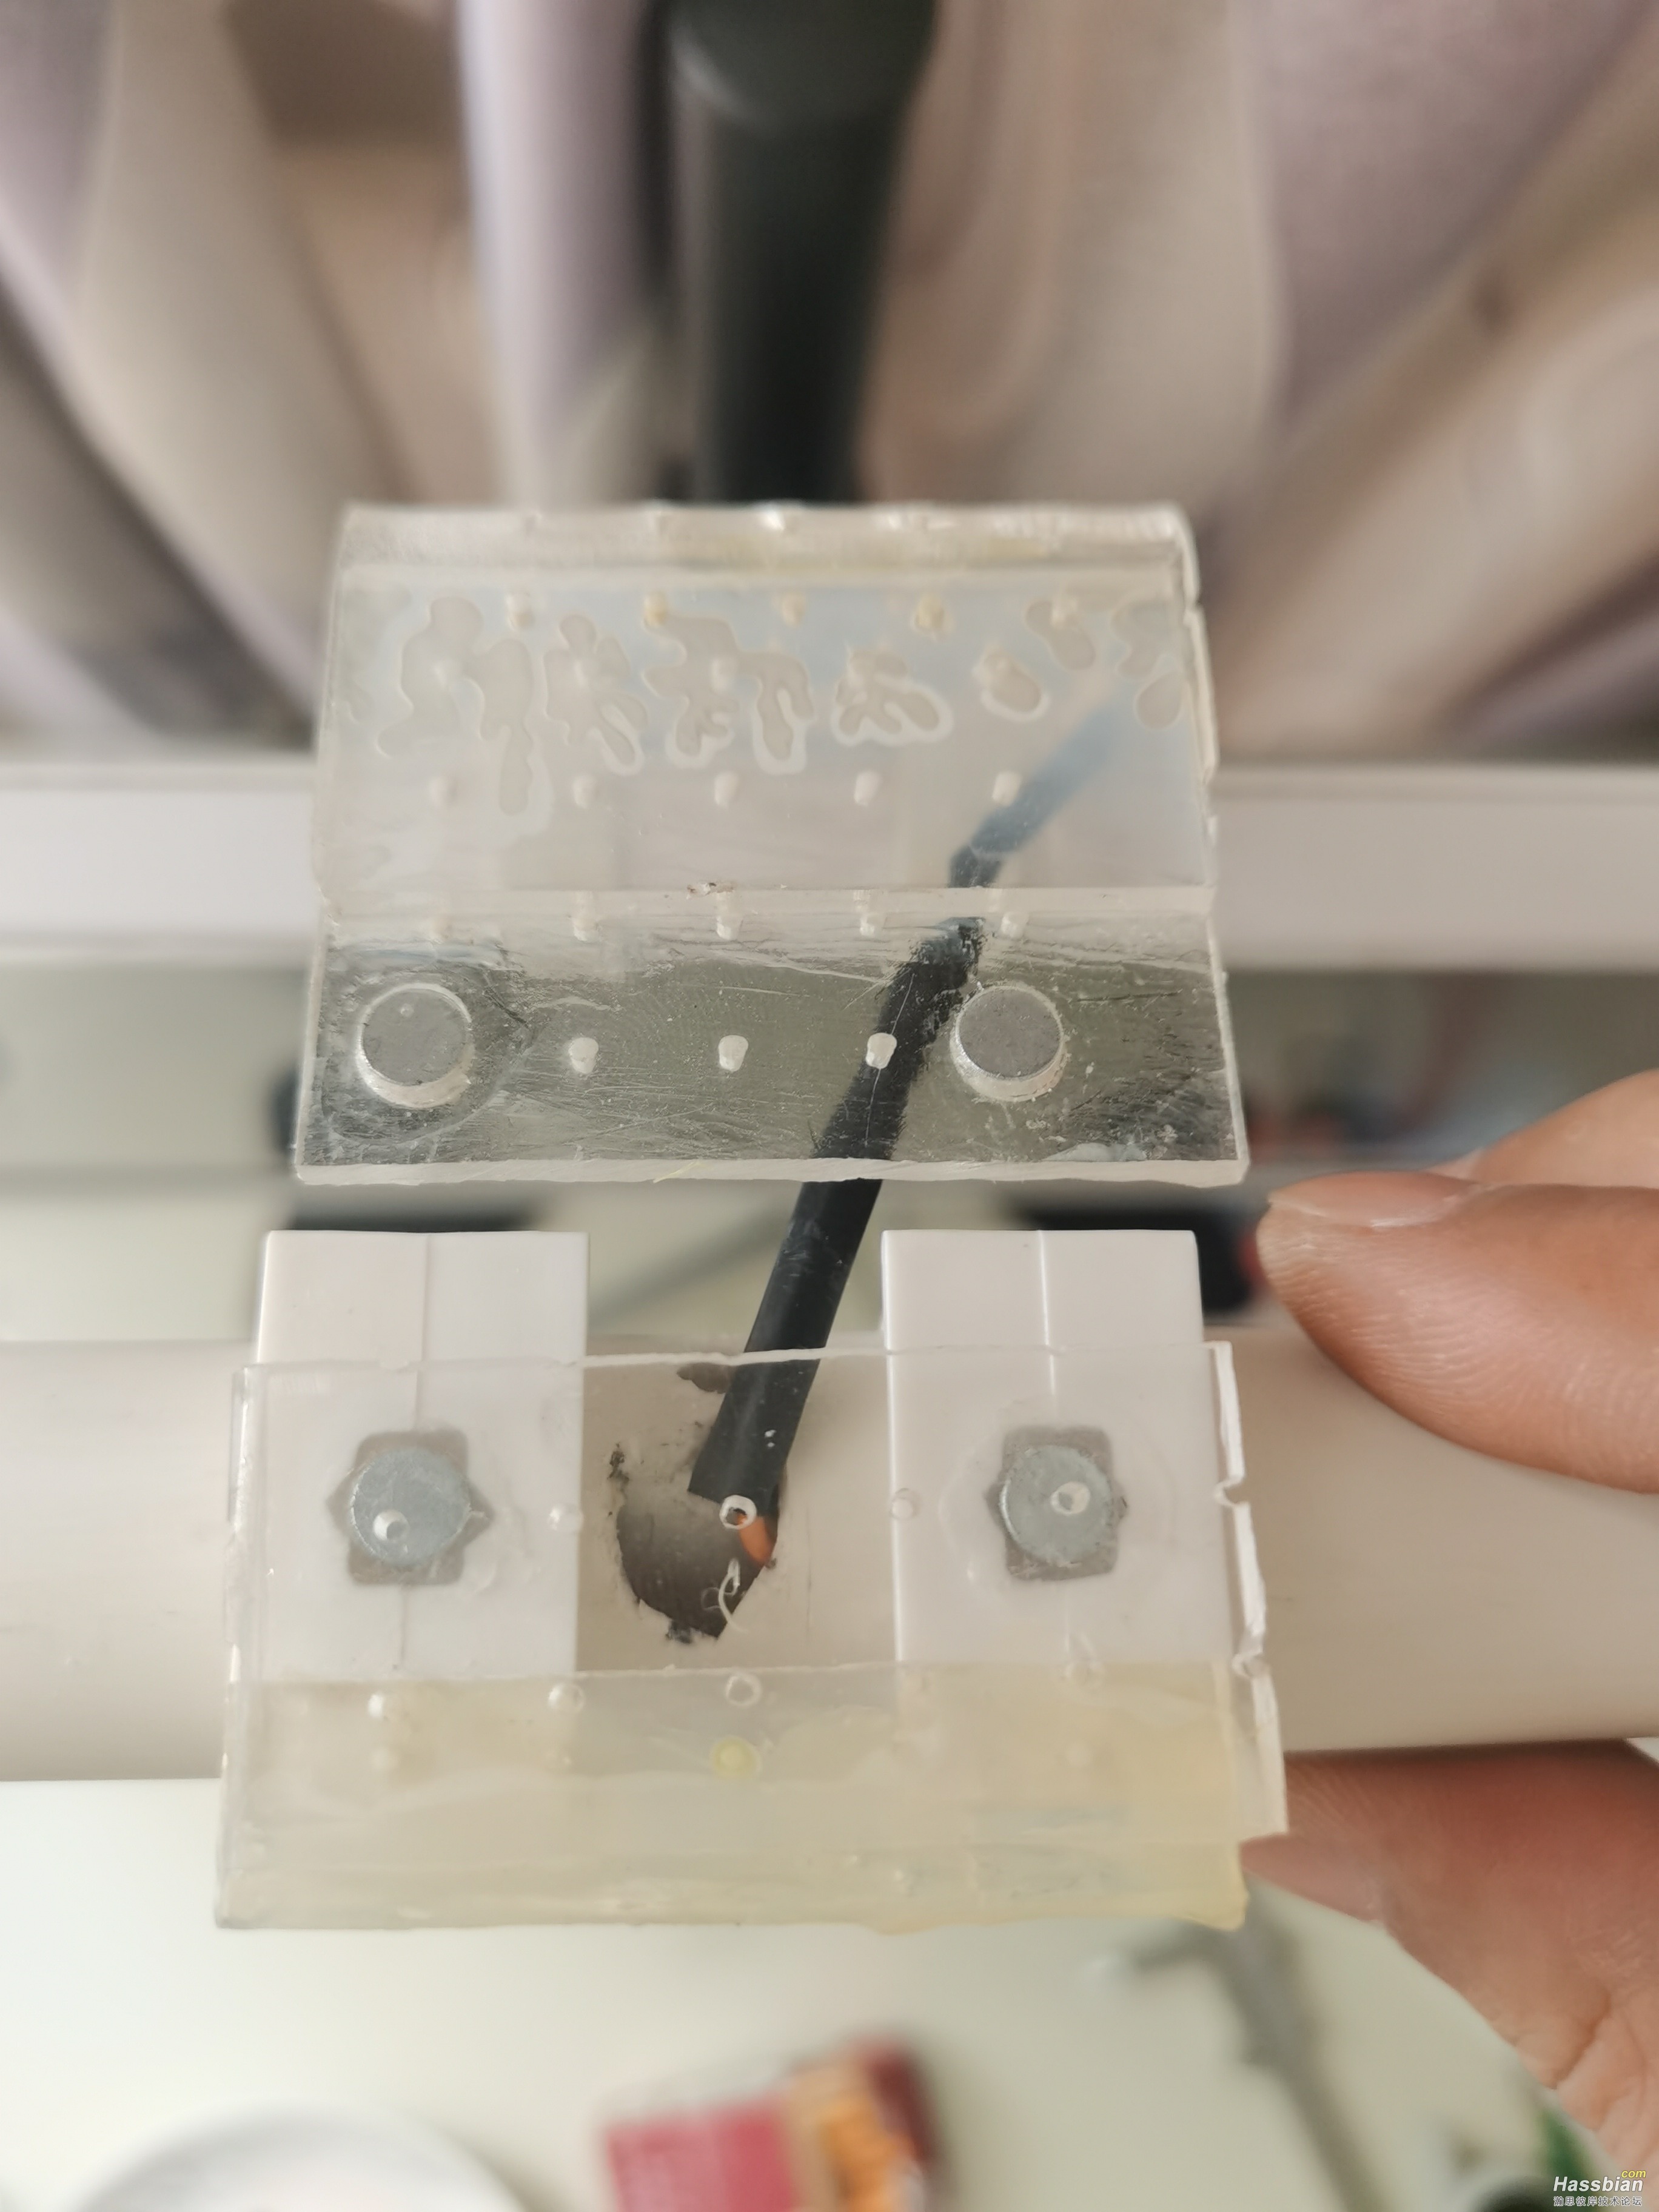
背面
水管
水管夹
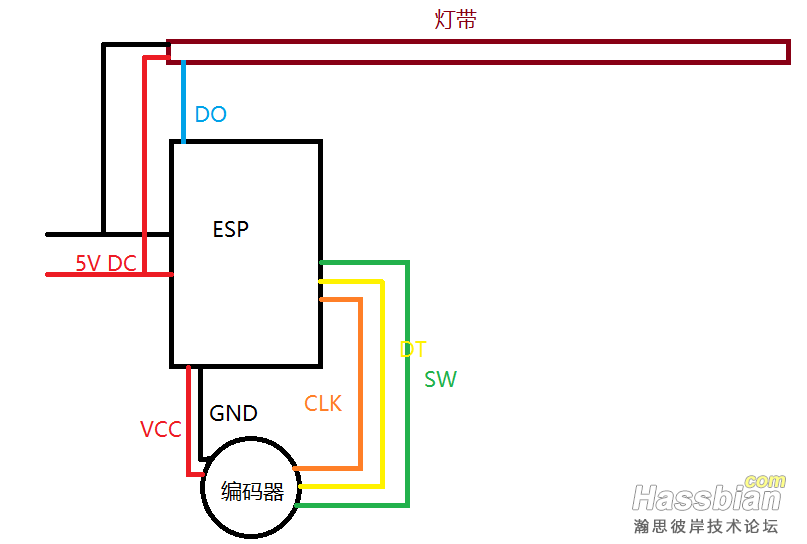
接线图
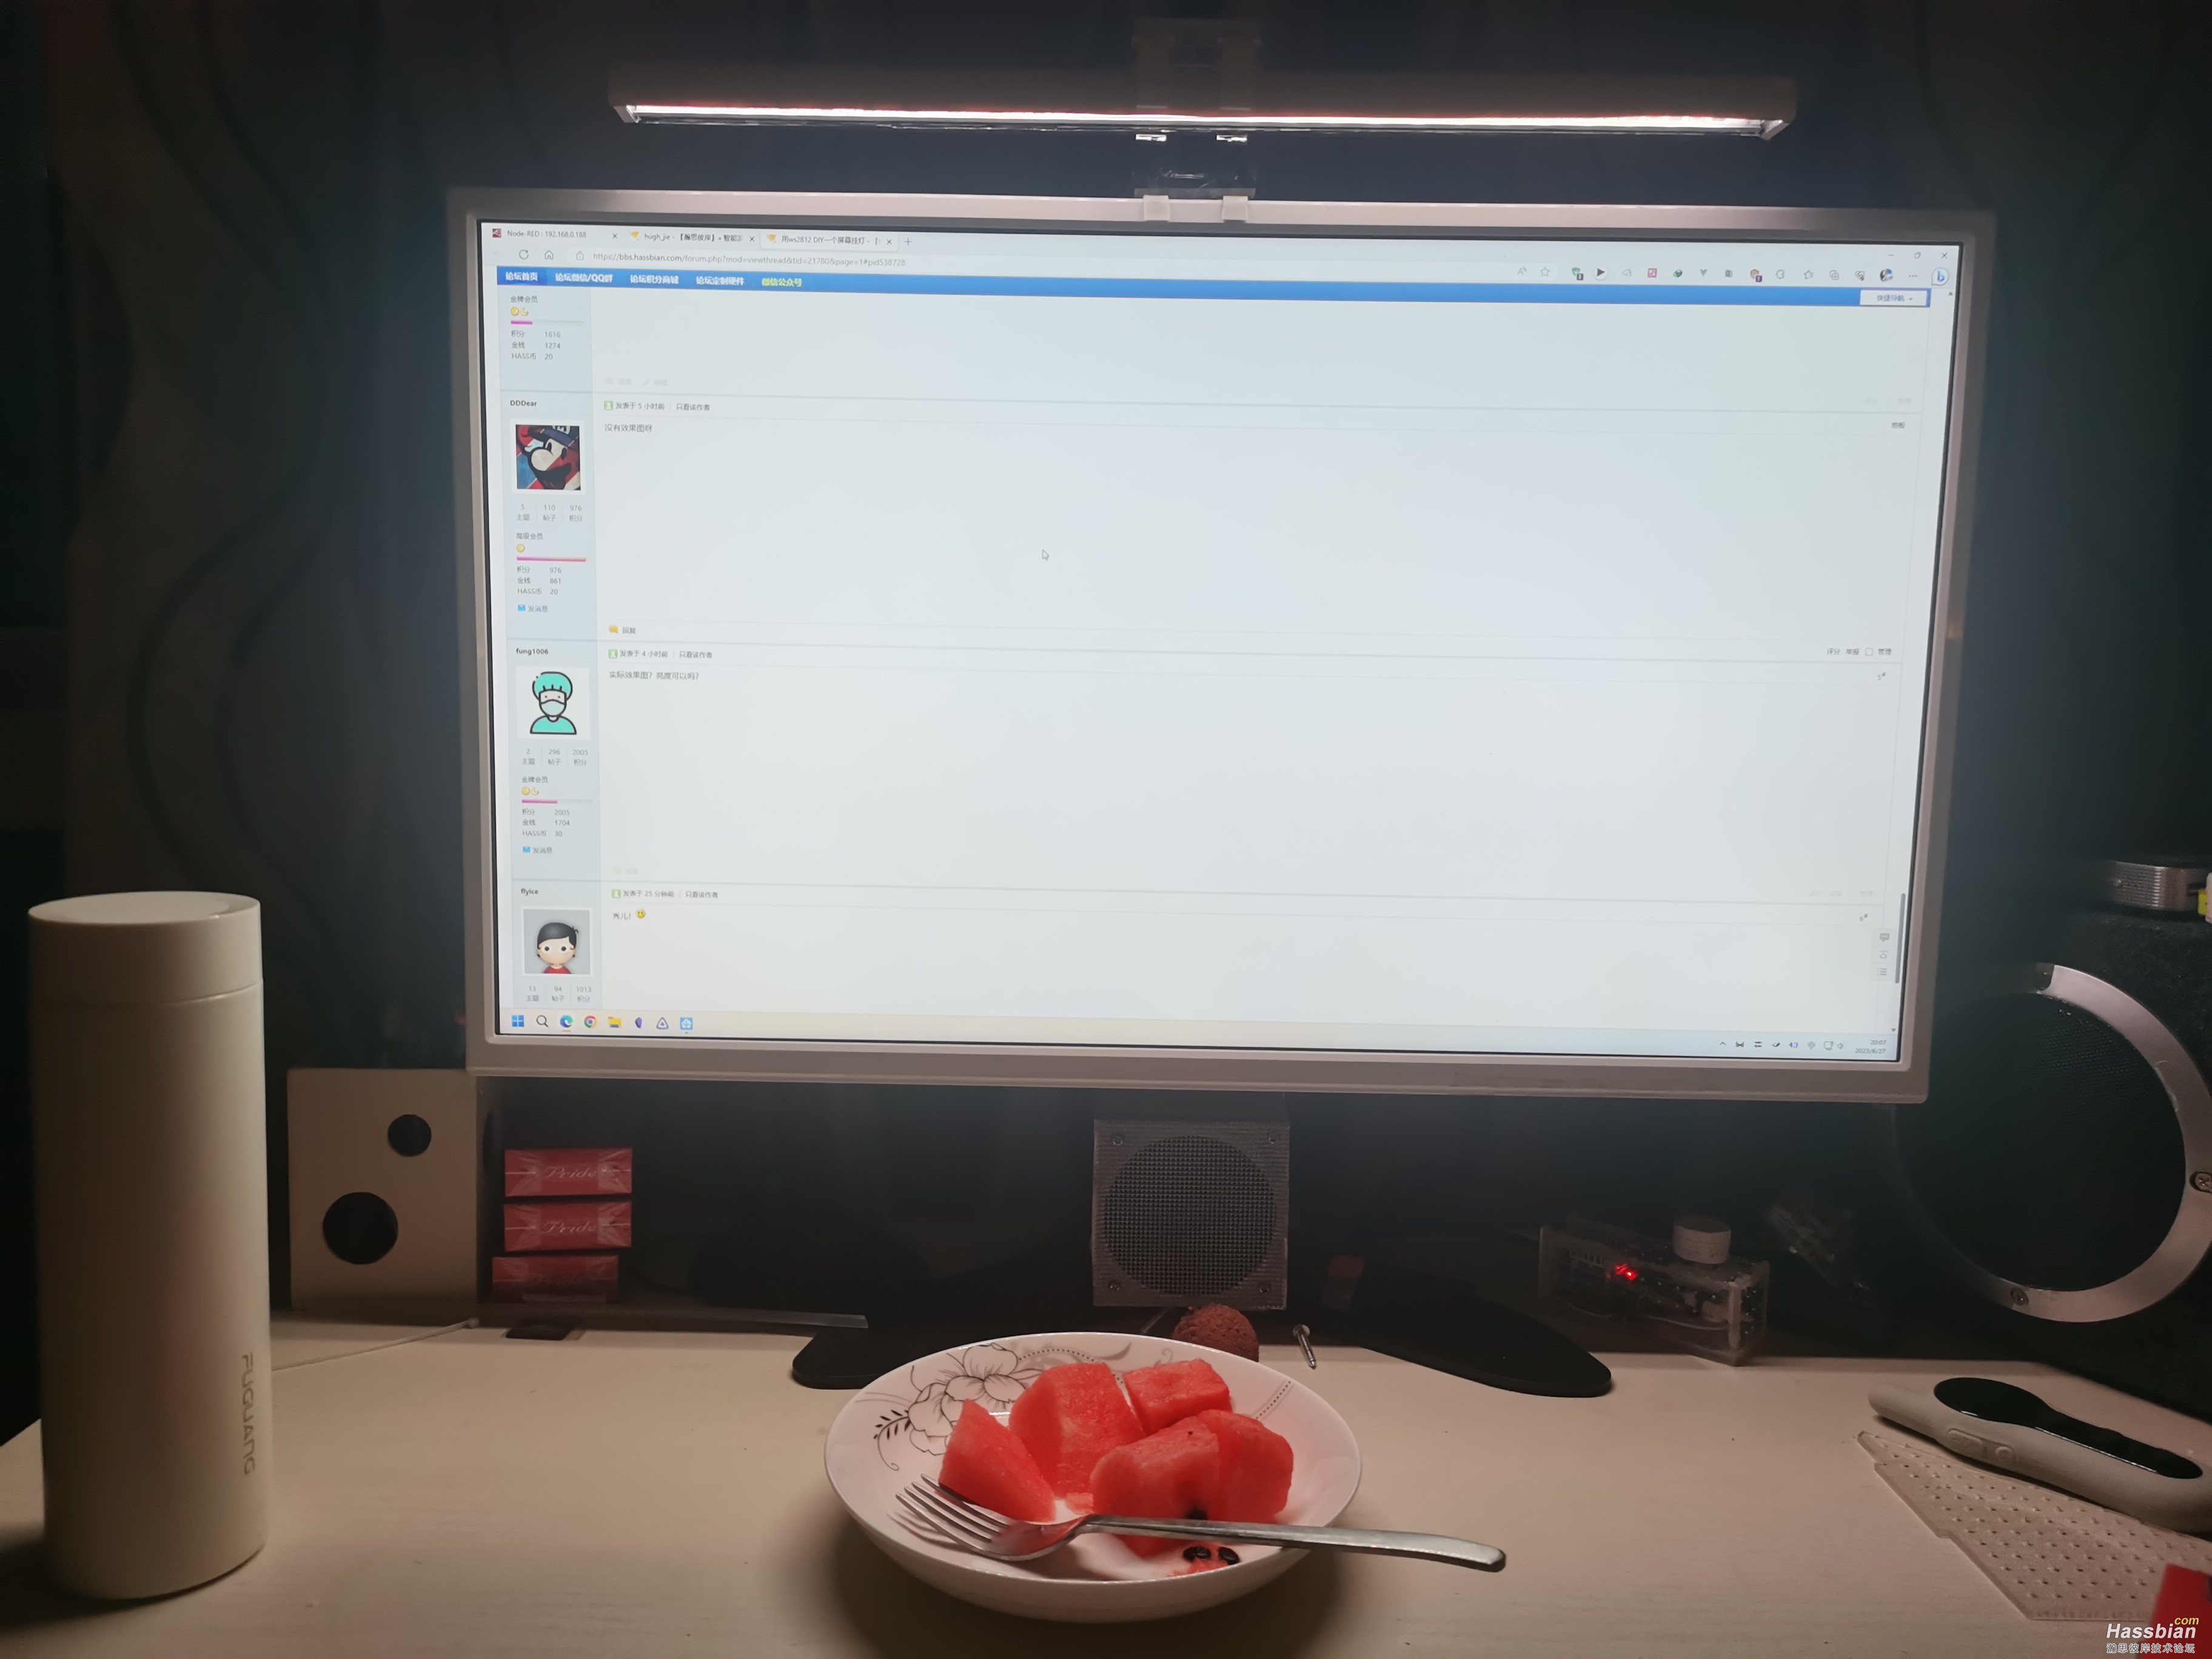
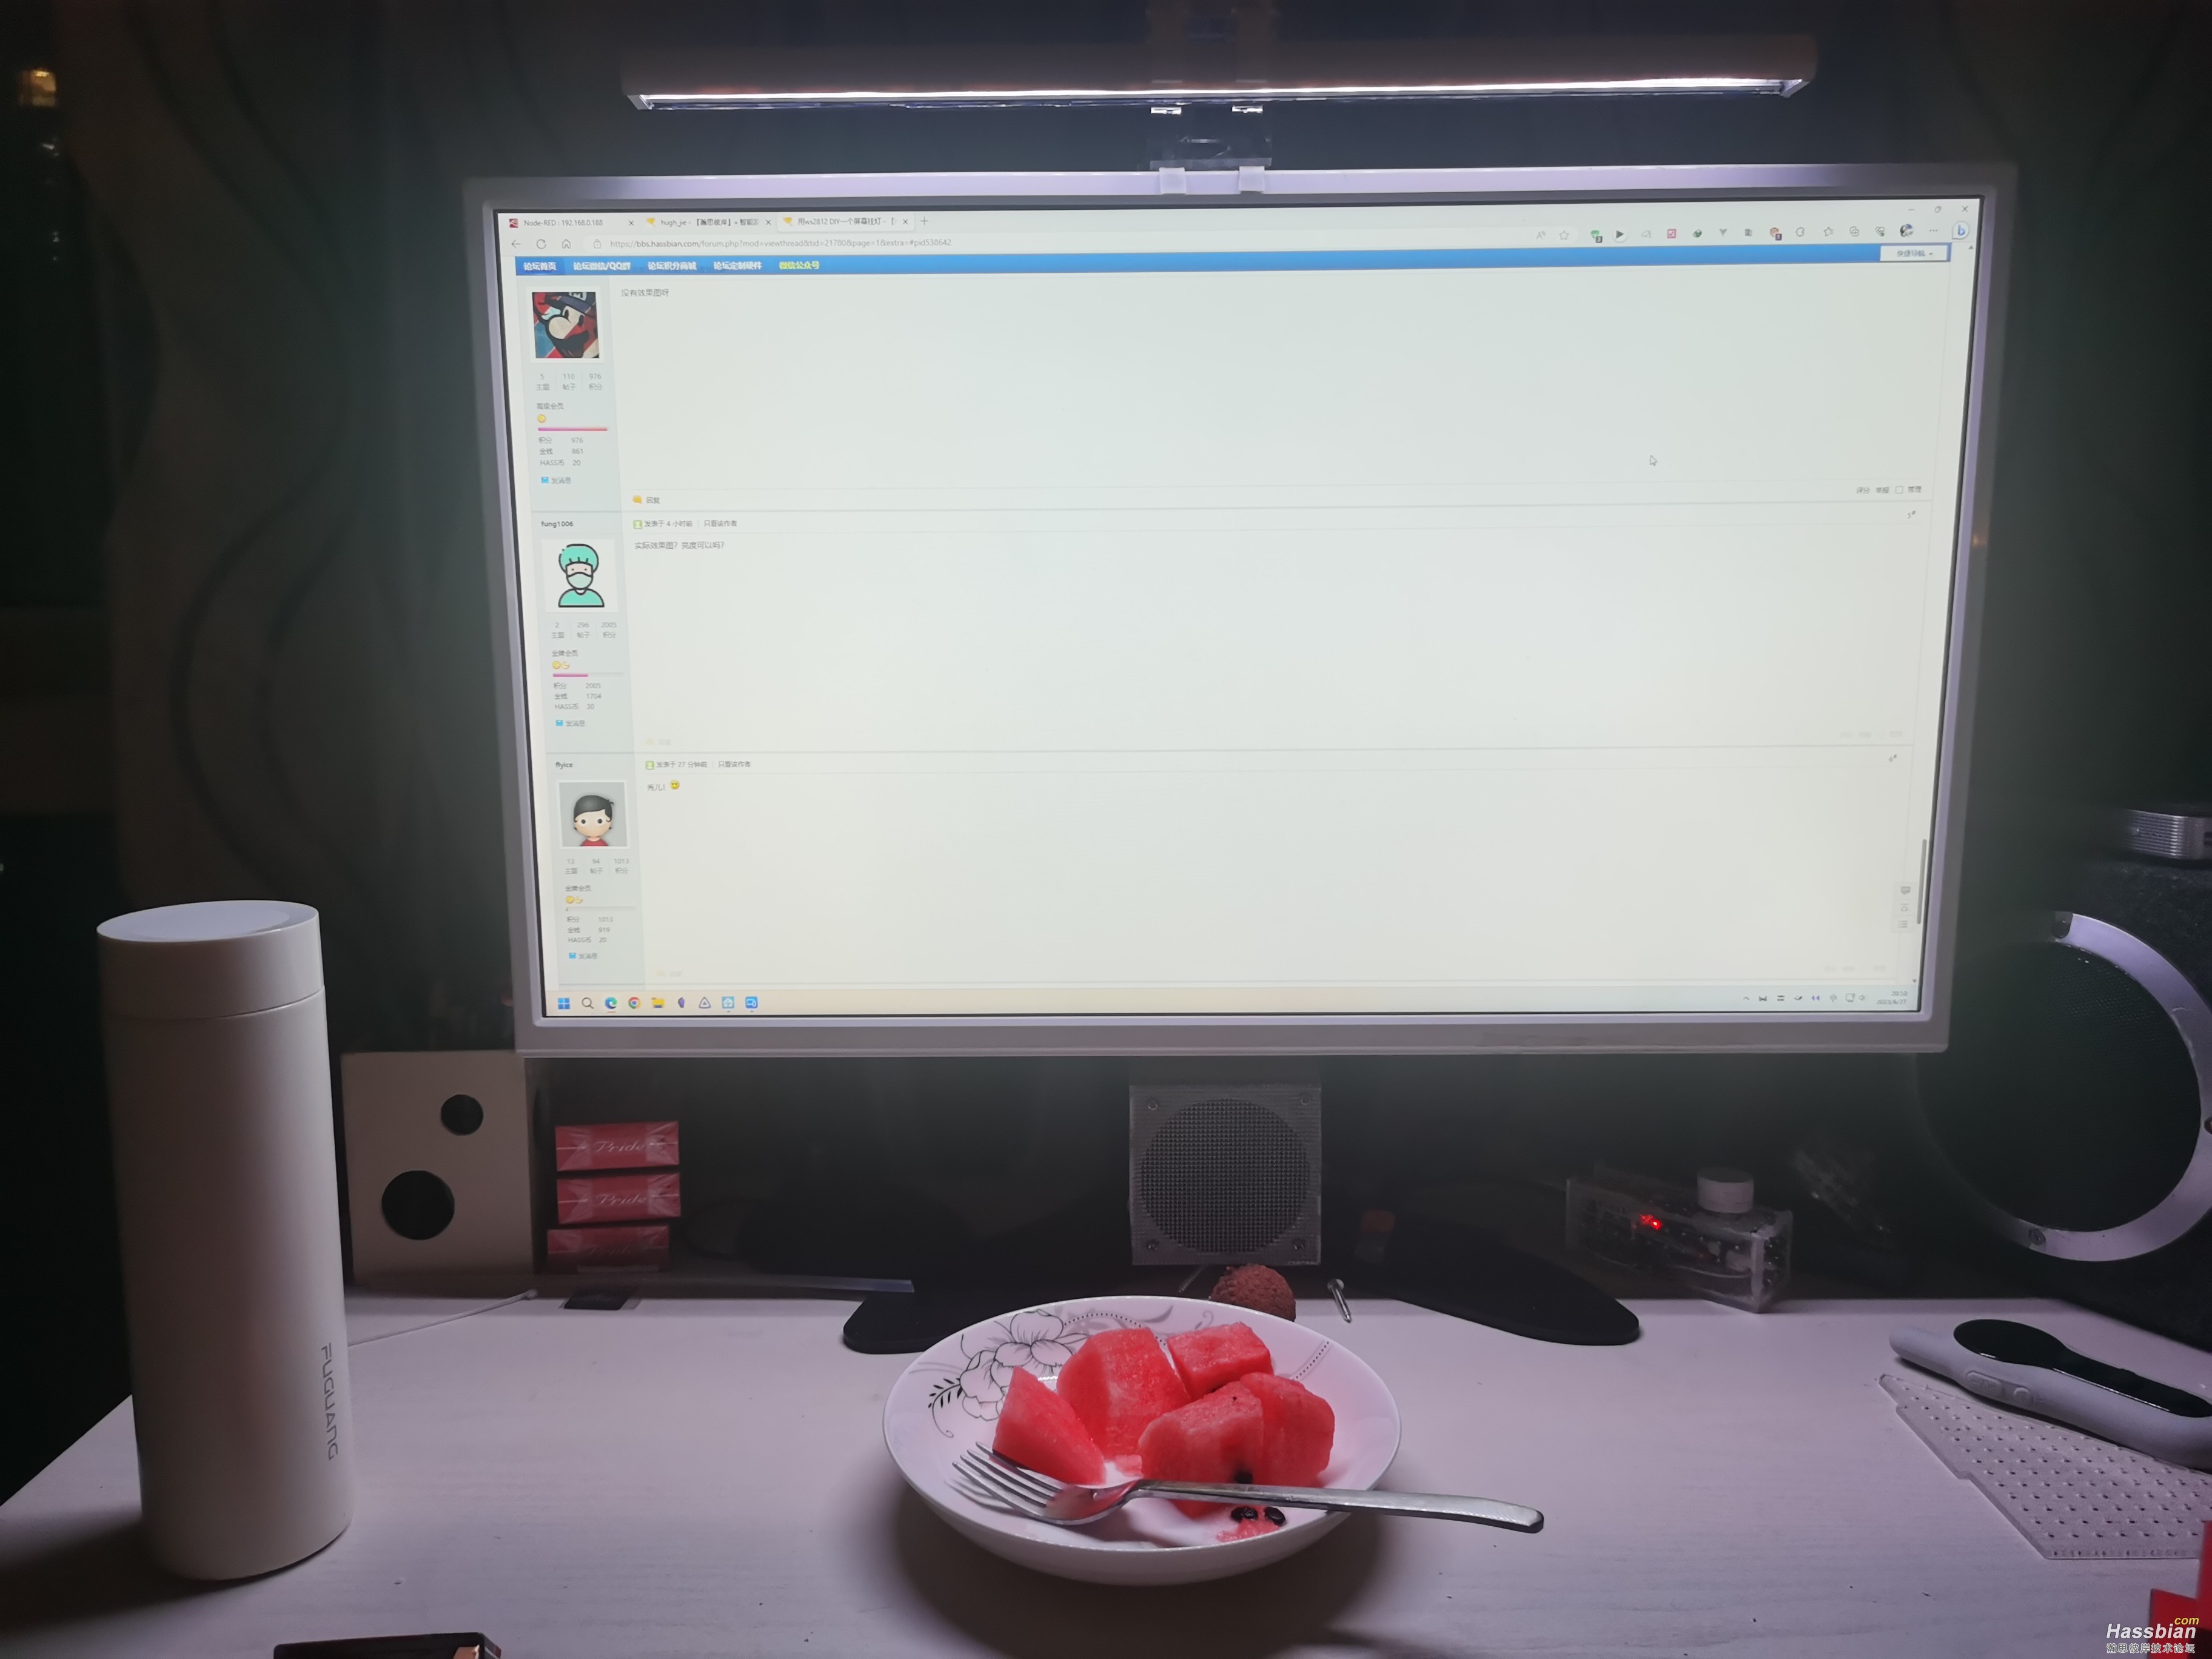
功能
实体按钮,按一下打开灯光,继续按切换自己设的静态灯光效果,我自己只弄了4种,可以随便加
旋钮用于调节亮度
长按按钮关闭灯光
对HA中的功能无影响,预设的动态灯光效果只能在HA中调用
globals:                        #全局变量,用于按钮调颜色
  - id: option
    type: int
    restore_value: no
    initial_value: '1'          #打开灯光后的初始值


light:
  - platform: neopixelbus
    type: GRB
    variant: WS2812
    pin: D7
    num_leds: 26
    id: light_1
    name: "PC-screenlight"
    effects:                     #预设的动态灯光效果,基本用不上,只在HA里面用
      - addressable_rainbow:
      - addressable_color_wipe:
      - addressable_scan:
      - addressable_twinkle:
      - addressable_random_twinkle:
      - addressable_fireworks:
      - addressable_flicker:
    default_transition_length: 1.5s

# 编码器旋钮
sensor:
  - platform: rotary_encoder
    pin_a: D5
    pin_b: D6
    id: ec11
    internal: true
    min_value: 1
    max_value: 100
    resolution: 4
    icon: mdi:speedometer
    on_value:
      then:
        - light.control:
            id: light_1
            state: on
            brightness: !lambda |-
              return id(ec11).state/100.0;
            transition_length: 0s


# 编码器按钮
binary_sensor:
  - platform: gpio
    id: button
    pin:
      number: D3
      inverted: true              #上拉后反向
      mode:
        input: true
        pullup: true              #上拉,否则疯狂输出
    internal: true
    on_click:
      - min_length: 50ms          #短按,打开和切换静态灯光
        max_length: 350ms
        then:
          - lambda: |-
              if (id(option) > 2) {
                    id(option) = 0;
                  } else {
                    id(option) += 1;
                  }
          - if:
              condition:
                lambda: |-
                  return id(option) == 0;
              then:
                - switch.turn_on: pure_white
          - if:
              condition:
                lambda: |-
                  return id(option) == 1;
              then:
                - switch.turn_on: warm_white1
          - if:
              condition:
                lambda: |-
                  return id(option) == 2;
              then:
                - switch.turn_on: warm_white2
          - if:
              condition:
                lambda: |-
                  return id(option) == 3;
              then:
                 - switch.turn_on: warm_yellow
      - min_length: 500ms
        max_length: 2000ms
        then:
          - light.toggle: light_1

# 预设静态灯光
switch:
  - platform: gpio
    name: "screen_cool_fan"
    pin: D1
    id:  screen_cool


  - platform: template
    id: pure_white          #近纯白
    turn_on_action:
      then:
        - switch.turn_off: warm_white1
        - switch.turn_off: warm_white2
        - switch.turn_off: warm_yellow
        - light.turn_on:
            id: light_1
            brightness: 100%
            red: 100%
            green: 96.8%
            blue: 86.7%
  - platform: template
    id: warm_white1        #暖白1
    turn_on_action:
      then:
        - switch.turn_off: pure_white
        - switch.turn_off: warm_white2
        - switch.turn_off: warm_yellow
        - light.turn_on:
            id: light_1
            brightness: 100%
            red: 100%
            green: 93.7%
            blue: 74.9%
  - platform: template
    id: warm_white2        #暖白2
    turn_on_action:
      then:
        - switch.turn_off: warm_white1
        - switch.turn_off: pure_white
        - switch.turn_off: warm_yellow
        - light.turn_on:
            id: light_1
            brightness: 100%
            red: 100%
            green: 90.98%
            blue: 63.14%
  - platform: template
    id: warm_yellow        #暖黄
    turn_on_action:
      then:
        - switch.turn_off: warm_white1
        - switch.turn_off: warm_white2
        - switch.turn_off: pure_white
        - light.turn_on:
            id: light_1
            brightness: 100%
            red: 100%
            green: 87%
            blue: 50.2%
2023.12.15更新ws2812亮度还是不爽,且显色太差了,重新买了根据说98显指的双色温灯带,24v的,壳子还是用原来的,现在这个就需要外接电源了,使用了2个mos管
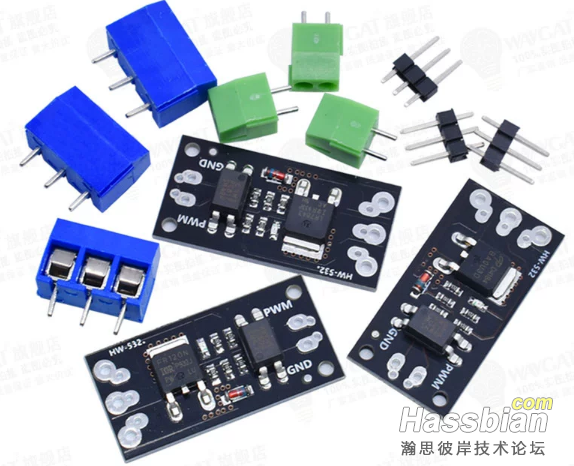
长这样
接线图
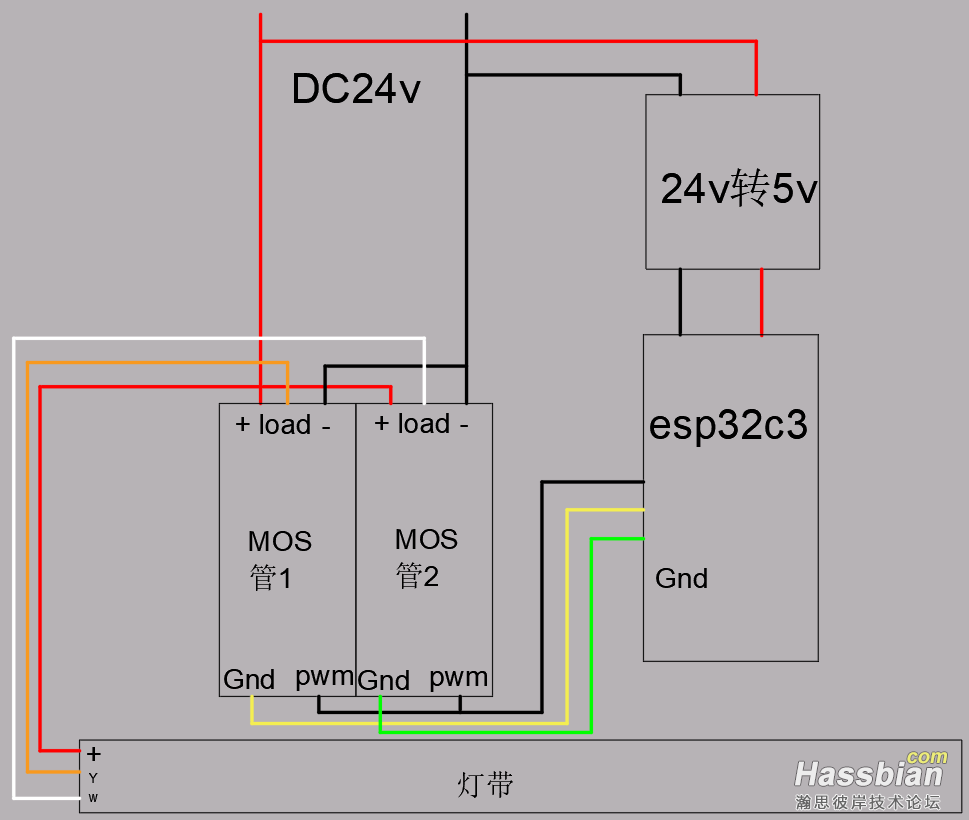
换了esp32c3是因为8266的pwm貌似只能输出1000Hz,加个pwm模块又不太方便在esphome里面控制,所以改了这个,而且它是真的便宜
新的yaml:
output:
  - platform: ledc
    pin: GPIO6
    id: output1
    frequency: 4882Hz
    channel: 0
    min_power: 0.025575
    max_power: 0.744524556
    zero_means_zero: true
  - platform: ledc
    pin: GPIO10
    id: output2
    frequency: 4882Hz
    channel: 4
    min_power: 0.034351
    max_power: 0.69912
    zero_means_zero: true


light:
  - platform: cwww
    name: "light"
    id: light1
    icon: mdi:lightbulb-fluorescent-tube-outline
    cold_white: output1
    warm_white: output2
    cold_white_color_temperature: 6000 K
    warm_white_color_temperature: 3000 K
    constant_brightness: true
    default_transition_length: 0.2s


switch:
  - platform: gpio
    name: "cool_fan"
    pin: GPIO3

sensor:
  - platform: rotary_encoder
    internal: true
    pin_a: GPIO18
    pin_b: GPIO19
    id: ec11
    min_value: 0
    max_value: 100
    resolution: 1
    on_clockwise:
      then:
        light.dim_relative:
          id: light1
          transition_length: 0.2s
          relative_brightness: -5%

    on_anticlockwise:
      then:
        light.dim_relative:
          id: light1
          transition_length: 0.2s
          relative_brightness: 5%


binary_sensor:
  - platform: gpio
    id: button
    pin:
      number: GPIO7
      inverted: true
      mode:
        input: true
        pullup: true
    internal: true
    on_click:
      then:
        - light.toggle: light1
说明:
1.min_power和max_power用于调节pwm的控制范围,可以避免HA里面的调节虚位,需要根据实际情况调节,先不加,根据自己的灯带最大和最小亮度确定亮度百分比,比如最小亮度是10%,那么min_power就是0.1^2.8,max_power同理
2.ec11的按钮可以添加一个按下旋转调节色温的功能,B站有个大佬有发,但是我觉得没必要所以没有借鉴,有需要的自己去找额
3.这个mos管我买的店没有pwm范围,找同款有说20k以下,我拿到了就直接写了20kHz,结果亮度调节范围很小,而且低亮度闪烁严重,1000Hz基本可以覆盖0~100%,但是网上说3125以上才能完全不伤眼,所以改了个esphome推荐的几个频率中最接近的4882Hz,然后就需要使用min和max_power来修改一下
|