|
|
本帖最后由 lidicn 于 2017-12-13 13:30 编辑
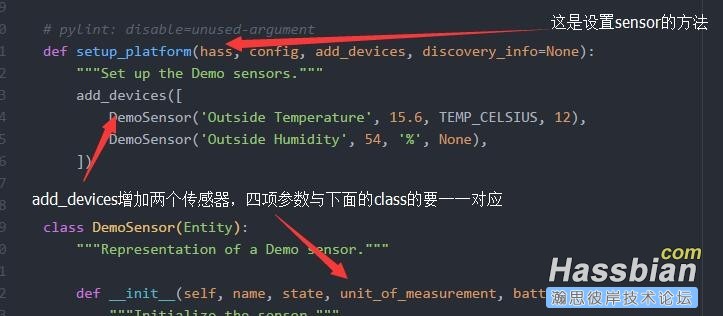
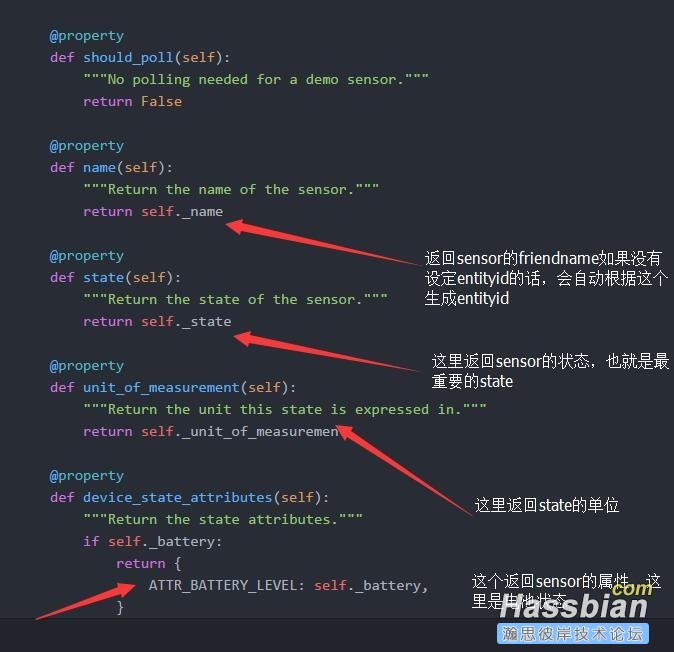
下面这个是官方的sensor demo,实现了最简单的sensor。,在custom_components\sensor 路径下新建一个demo.py 将下面的代码复制、粘贴进去。
[pre]"""
Demo platform that has a couple of fake sensors.
For more details about this platform, please refer to the documentation
https://home-assistant.io/components/demo/
"""
from homeassistant.const import ATTR_BATTERY_LEVEL, TEMP_CELSIUS
from homeassistant.helpers.entity import Entity
# pylint: disable=unused-argument
def setup_platform(hass, config, add_devices, discovery_info=None):
"""Set up the Demo sensors."""
add_devices([
DemoSensor('Outside Temperature', 15.6, TEMP_CELSIUS, 12),
DemoSensor('Outside Humidity', 54, '%', None),
])
class DemoSensor(Entity):
"""Representation of a Demo sensor."""
def __init__(self, name, state, unit_of_measurement, battery):
"""Initialize the sensor."""
self._name = name
self._state = state
self._unit_of_measurement = unit_of_measurement
self._battery = battery
@property
def should_poll(self):
"""No polling needed for a demo sensor."""
return False
@property
def name(self):
"""Return the name of the sensor."""
return self._name
@property
def state(self):
"""Return the state of the sensor."""
return self._state
@property
def unit_of_measurement(self):
"""Return the unit this state is expressed in."""
return self._unit_of_measurement
@property
def device_state_attributes(self):
"""Return the state attributes."""
if self._battery:
return {
ATTR_BATTERY_LEVEL: self._battery,
}[/pre]
在你的package文件夹里面新建一个 demo.yaml 并输入以下代码
[pre]sensor:
platform: demo
name: demo[/pre]
这里的demo是与你新建的demo.py的文件名一致的。可根据自己的sensor改需要的名称。
重启HA,激动时刻。终于可以看见自己写的sensor了

然而并没什么卵用,这两个sensor都是固定数值,没有任何作用。
先熟悉一下插件的结构框架。


本期结束,下期将介绍如何将这个没什么卵用的demo sensor 改造成股票价格监控sensor。
下期链接
https://bbs.hassbian.com/thread-966-1-1.html
|
评分
-
查看全部评分
|