本帖最后由 lidicn 于 2017-9-4 11:35 编辑
上回说到如何将微信接入Homeassistant,接下来我们来看看能如何运用微信

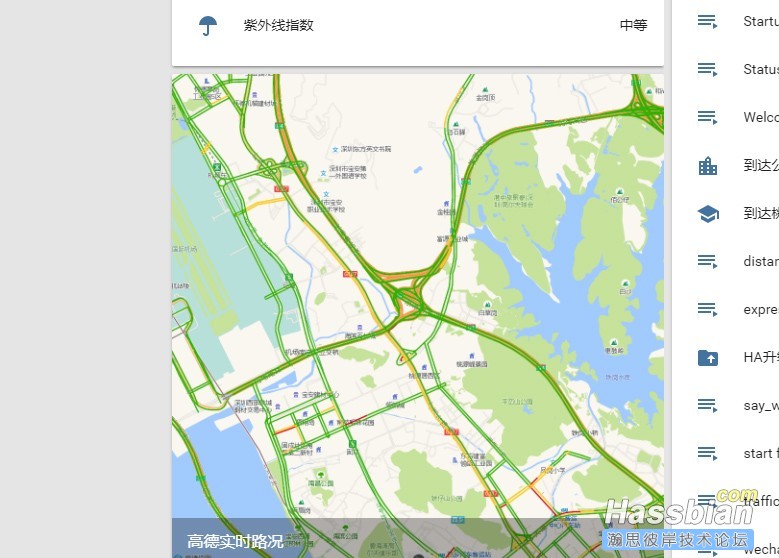
高德实时路况图源自官网
https://home-assistant.io/cookbook/google_maps_card/
camera:
  - platform: generic
    name: trafficImg
    still_image_url: [url=http://restapi.amap.com/v3/staticmap?zoom=13&size=1080]http://restapi.amap.com/v3/staticmap?zoom=13&size=102[/url]4*1024&markers=-1,[url=http://家的图片网址只支持png.png]http://家的图片网址只支持png.png[/url],0:家的longitude,家的latitude|-1,[url=http://你的头像网址.png]http://你的头像网址.png[/url],0:{{ states.device_tracker.需跟踪的设备.attributes.longitude }},{{ states.device_tracker.需跟踪的设备.attributes.latitude }}&traffic=1&key=高德apikey
    limit_refetch_to_url_change: true
微信来自https://bbs.hassbian.com/thread-731-1-1.html
downloader2:
  download_dir: downloads
#downloads文件夹需要自己新建 ./homeassistant/downloads/
downloader2源自https://home-assistant.io/components/downloader/ 增加了参数,可以自定义文件名
通过download2 下载高德路况图,使用微信推送给微信好友
script:
  push_traffic_img:
    sequence:
      - service: downloader2.download_file
        data_template:
          url: [url=http://restapi.amap.com/v3/staticmap?zoom=12&size=1080]http://restapi.amap.com/v3/staticmap?zoom=12&size=102[/url]4*1024&markers=-1,[url=http://家的图片网址只支持png.png]http://家的图片网址只支持png.png[/url],0:113.8581484,22.6634195|-1,[url=http://你的头像网址.png]http://你的头像网址.png[/url],0:{{ states.device_tracker.需跟踪的设备.attributes.longitude }},{{ states.device_tracker.需跟踪的设备.attributes.latitude }}&traffic=1&key=高德apikey
          filename: traffic.jpg
      - delay: 00:00:03
      - service: notify.wechatnotify
        data_template:
          message: '交通路况图'
          target: '发送目标的微信用户名'
          data:
            image: "/home/homeassistant/.homeassistant/downloads/traffic.jpg"
使用教程:
|