0、关于
今天心血来潮看了下Lovelace的插件更新方面的东西,有一点体会和心得,想跟大家分享一下,本身实际用处不大,当然,如果对别人有一点帮助的话,也是很好的。
1、系统环境前置条件:
(1)lovelace采用yaml方式:
通过
lovelace:
  mode: yaml
进行lovelace配置,直接WEB UI我没有试过,不过应该差的不多(吧)?
(2) 配置、安装完custom_updater:
1)、configuration.yaml开启了相关配置:
custom_updater:
  hide_sensor: true
  show_installable: False
  track:
    - components
    - cards
    - python_scripts
  card_urls:
    - xxxxxx1
    - xxxxxx2
    - xxxxxx3
    - xxxxxx4
  component_urls:
    - xxxx
  python_script_urls:
   - xxxx
用的比较多的应该还是card_urls。
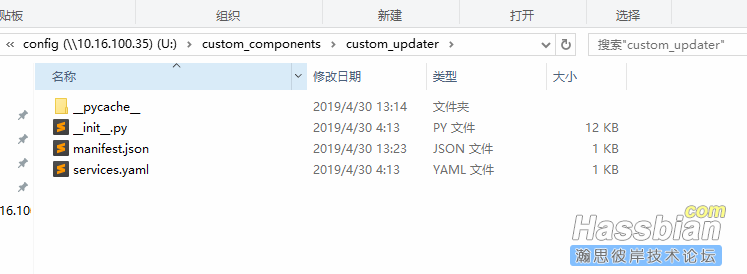
2)、custom_components中已完成相关配置:
去custom_updater官方仓库下载相关文件(看过文档的,就不用看这篇废话了),然后放到该放的地方:

2、插件更新方式(我个人理解的,仅供参考):
1)、第一种:通过在
resources:
中直接配置类似:
- url: /customcards/github/xxxxx.js?track=true
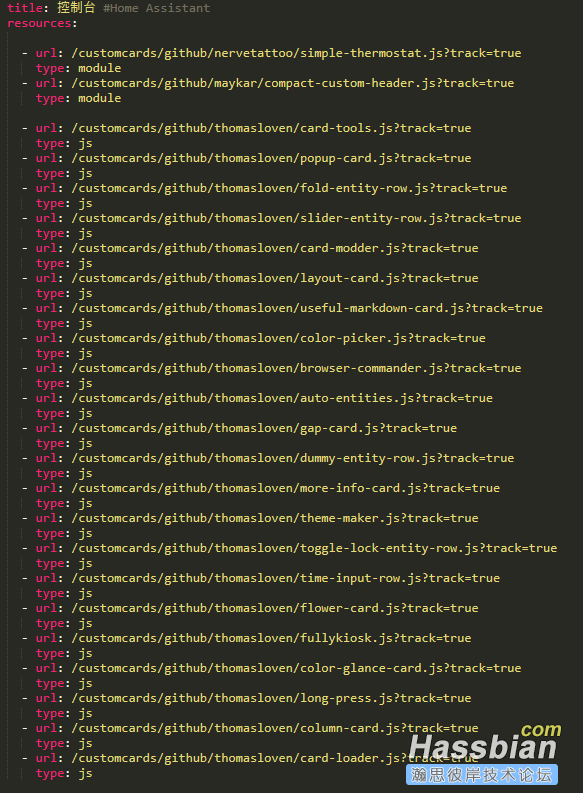
的方式更新,这个开挂的歪果仁thomasloven有个专门的wiki教你,我尝试了下,搞了几十个他的插件下来,列表真长:


lovelace的常用插件(K大帖子里面的)基本都是这个大佬做的,真是强,类似的还有simple-thermostat.js、compact-custom-header.js等。
2)、第二种:通过在
resources:
中直接配置(订阅)HA的插件库的方式:
  - url: /customcards/github/custom-cards/tracker-card.js?track=true
    type: module
很多列表里面我们没有配置github地址却依然可以通过custom_updater更新的插件,应该都是因为他们提交在custom-cards的库里面,具体地址和相关介绍件下面的链接:
https://github.com/custom-cards/information
3)、第三种:通过在configuration.yaml文件中,配置custom_updater的
card_urls:
进行(追踪)更新,比如下面这几个(官方页面也有相关说明):
custom_updater:
#  show_installable: False
  hide_sensor: true
  show_installable: False
  track:
    - components
    - cards
    - python_scripts
  card_urls:
    - https://raw.githubusercontent.com/kalkih/mini-graph-card/master/tracker.json
    - https://raw.githubusercontent.com/kalkih/mini-media-player/master/tracker.json
    - https://raw.githubusercontent.com/kalkih/extended-entity-row/master/tracker.json
    - https://raw.githubusercontent.com/sgttrs/lovelace-weather-card-chart/master/custom-updater.json
    - https://raw.githubusercontent.com/MizterB/lovelace-secondaryinfo-entity-row/master/custom_cards.json
4)、第四种:手动更新
论坛好些插件(大佬们自己写的,比如高德、彩云)基本都采用这种的,只能自己去看看大佬们的帖子有没有更新了(虽然我们可能不出问题也基本不会去看原帖的)。
3、最后
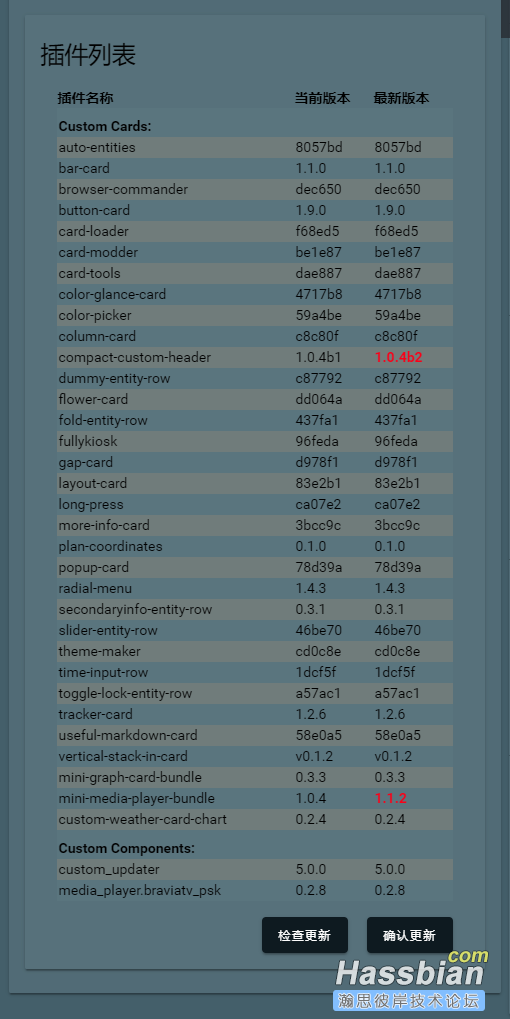
按照这个办法,最后你会得到一个可能你知道来龙去脉的插件更新列表,类似上面的那个,再贴一下:
最近还是想把lovelace好好整理一下,改了几次,也不满意,还有好多好玩的东西等着去玩了。