本帖最后由 loveyolanda 于 2025-6-15 11:01 编辑
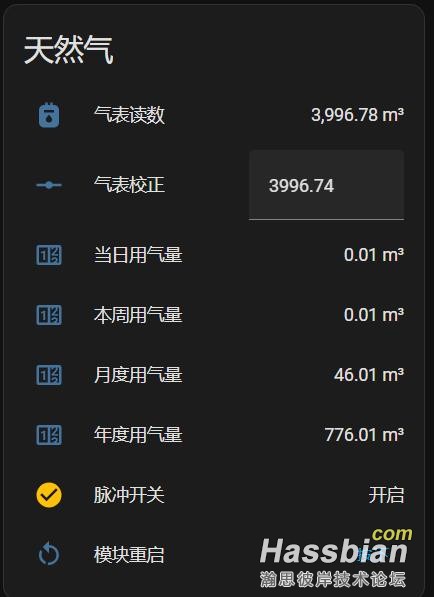
参考各位大佬的帖子,成功将燃气表接入homeassistant。从零开始用ESP模块将燃气表接入Home Assistant
https://bbs.hassbian.com/thread-27816-1-1.html
(出处: 『瀚思彼岸』» 智能家居技术论坛)
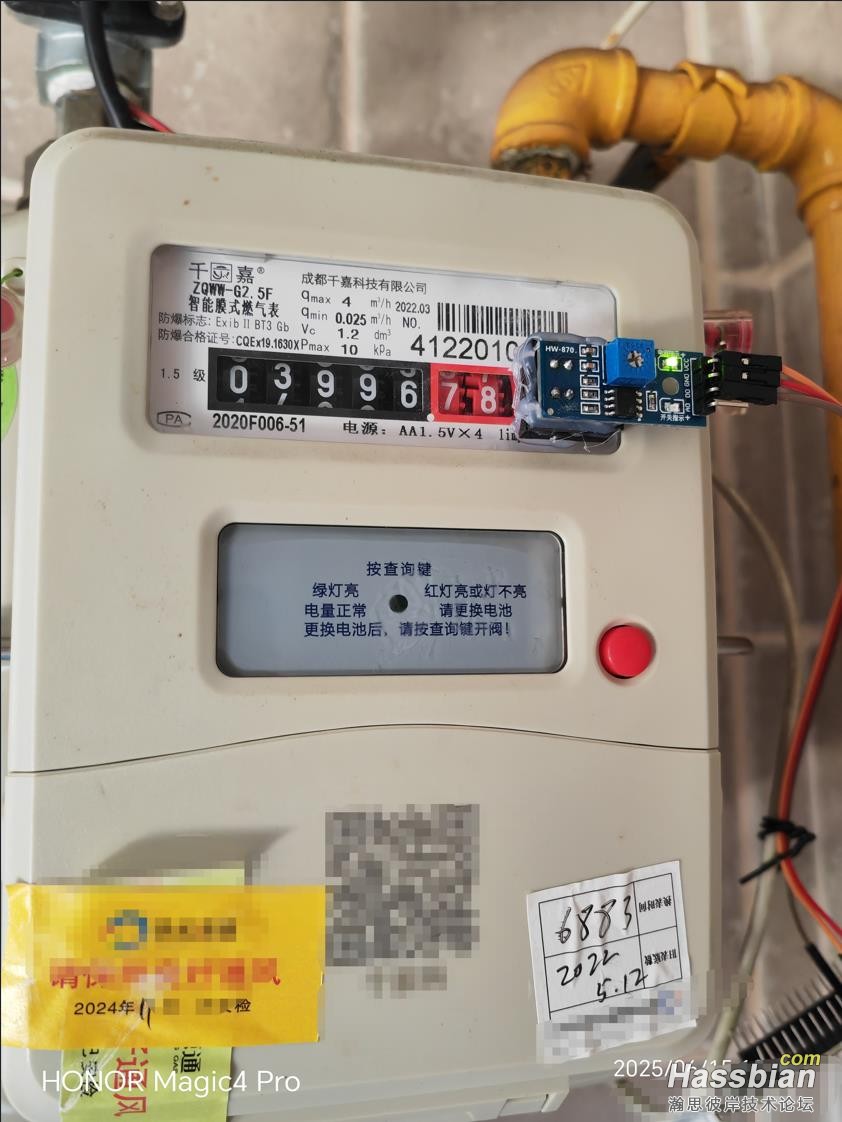
esphome代码如下,有需要的自取。TCRT5000模块有点不太好调整,慢慢搞,用数字信号不好搞,就用模拟信号。我这刚好运气不错用数字信号搞好了。环境光对模块影响较大,我在将红外发射和接收头周围用黑色亚克力框起了,用热熔胶直接粘到气表上,非常合适。


esphome:
  name: gas

esp8266:
  board: nodemcuv2
  restore_from_flash: true  # 增加闪存恢复功能
logger:
  level: debug

api:
  encryption:
    key: "XXXX"
  password: !secret api_password

ota:
  - platform: esphome
    password: !secret ota_password

web_server:
  port: 80

wifi:
  ssid: !secret wifi_ssid
  password: !secret wifi_password
  ap:
    ssid: "Gas Fallback Hotspot"
    password: !secret fallwifi_pswd

captive_portal:

# 全局变量存储总用气量
globals:
  - id: total_gas_usage
    type: float
    restore_value: yes
    initial_value: '0.0'

# TCRT5000传感器配置
sensor:
  - platform: template
    name: "Meter"
    id: gas_meter
    unit_of_measurement: "m³"
    accuracy_decimals: 2
    update_interval: 60s
    device_class: gas
    state_class: total_increasing
    lambda: |-
      return id(total_gas_usage);

# 定义阈值二进制传感器
binary_sensor:
  - platform: gpio
    name: "Pulse"
    id: gas_pulse
    pin:
      number: D2
      mode: INPUT_PULLUP
    filters:
      - delayed_on: 300ms  # 延长消抖时间
      - delayed_off: 300ms
    on_press:
      then:
        - lambda: |-
            id(total_gas_usage) += 0.01;
            id(gas_meter).publish_state(id(total_gas_usage));

# 手动校正用气量
number:
  - platform: template
    name: "correction"
    id: gas_usage_correction
    min_value: 0
    max_value: 99999
    step: 0.01
    optimistic: true
    restore_value: true
    initial_value: 0
    set_action:
      then:
        - lambda: |-
            id(total_gas_usage) = x;
            id(gas_meter).publish_state(id(total_gas_usage));
            id(gas_usage_correction).publish_state(0);

button:
  - platform: restart
    name: "restart"

text_sensor:
  - platform: wifi_info
    ip_address:
      name: IP Address
    ssid:
      name: Connected SSID
    mac_address:
      name: Mac Address
|