本帖最后由 dscao 于 2022-11-18 21:49 编辑
[经验分享] 【学习-记录-分享】燃气DIY篇2-巧读天然气表
https://bbs.hassbian.com/thread-16773-1-1.html
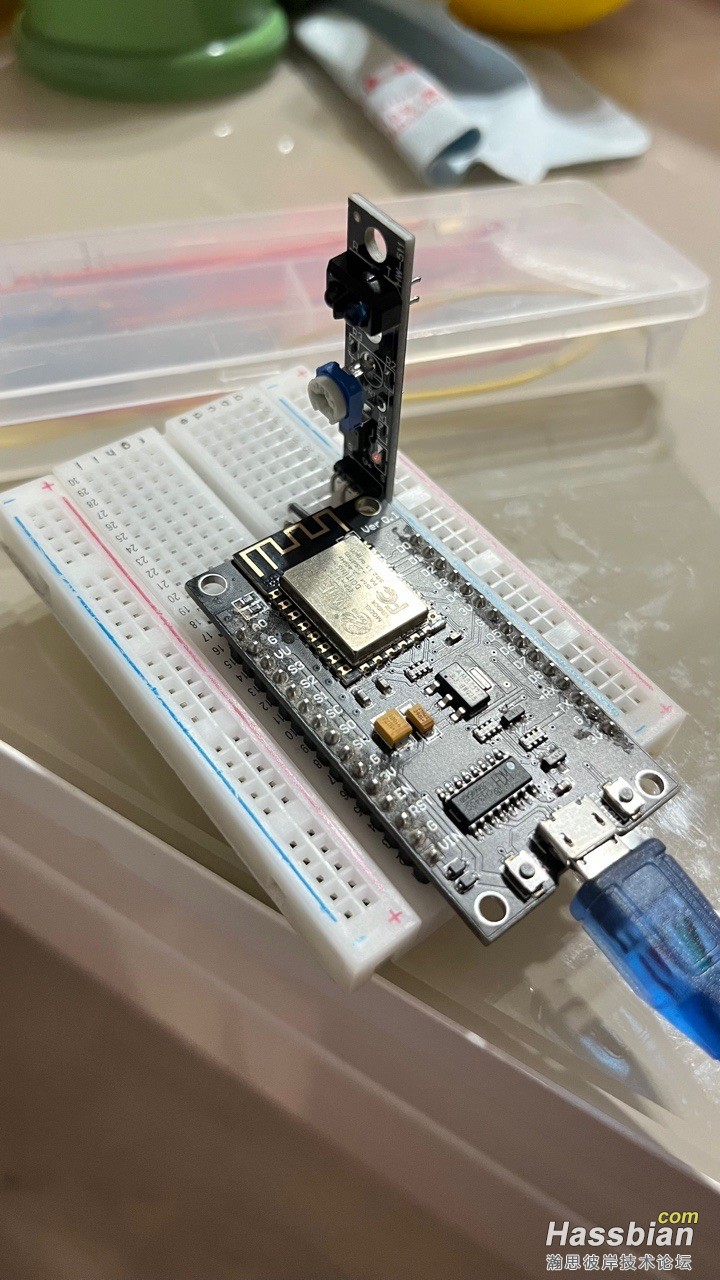
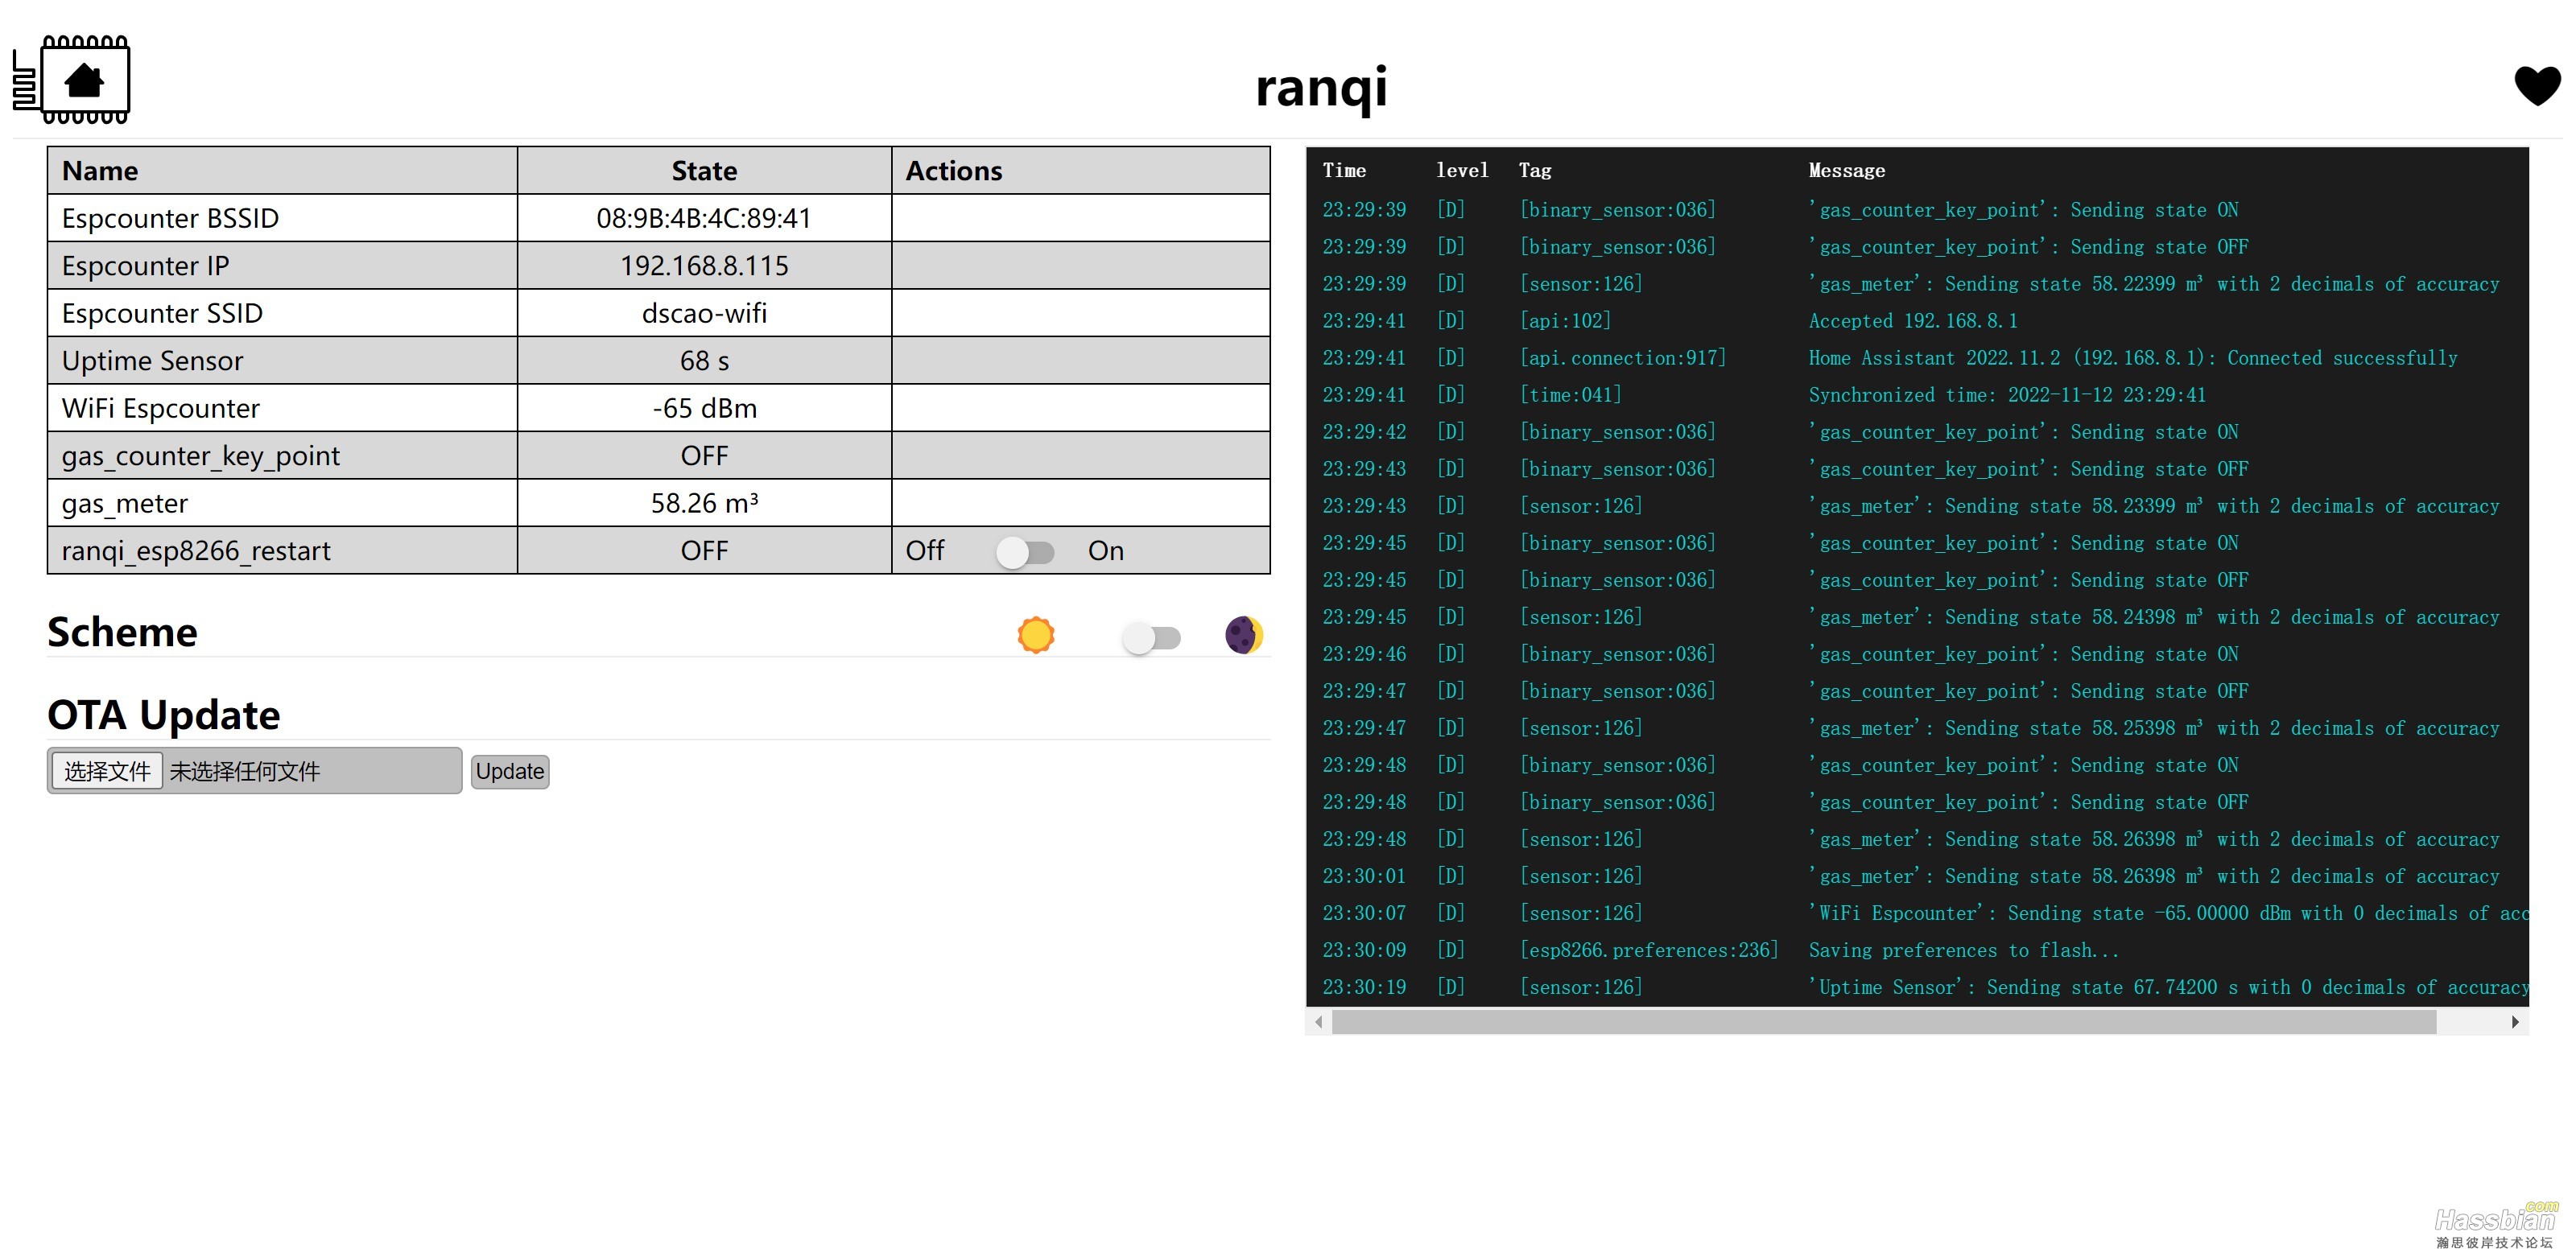
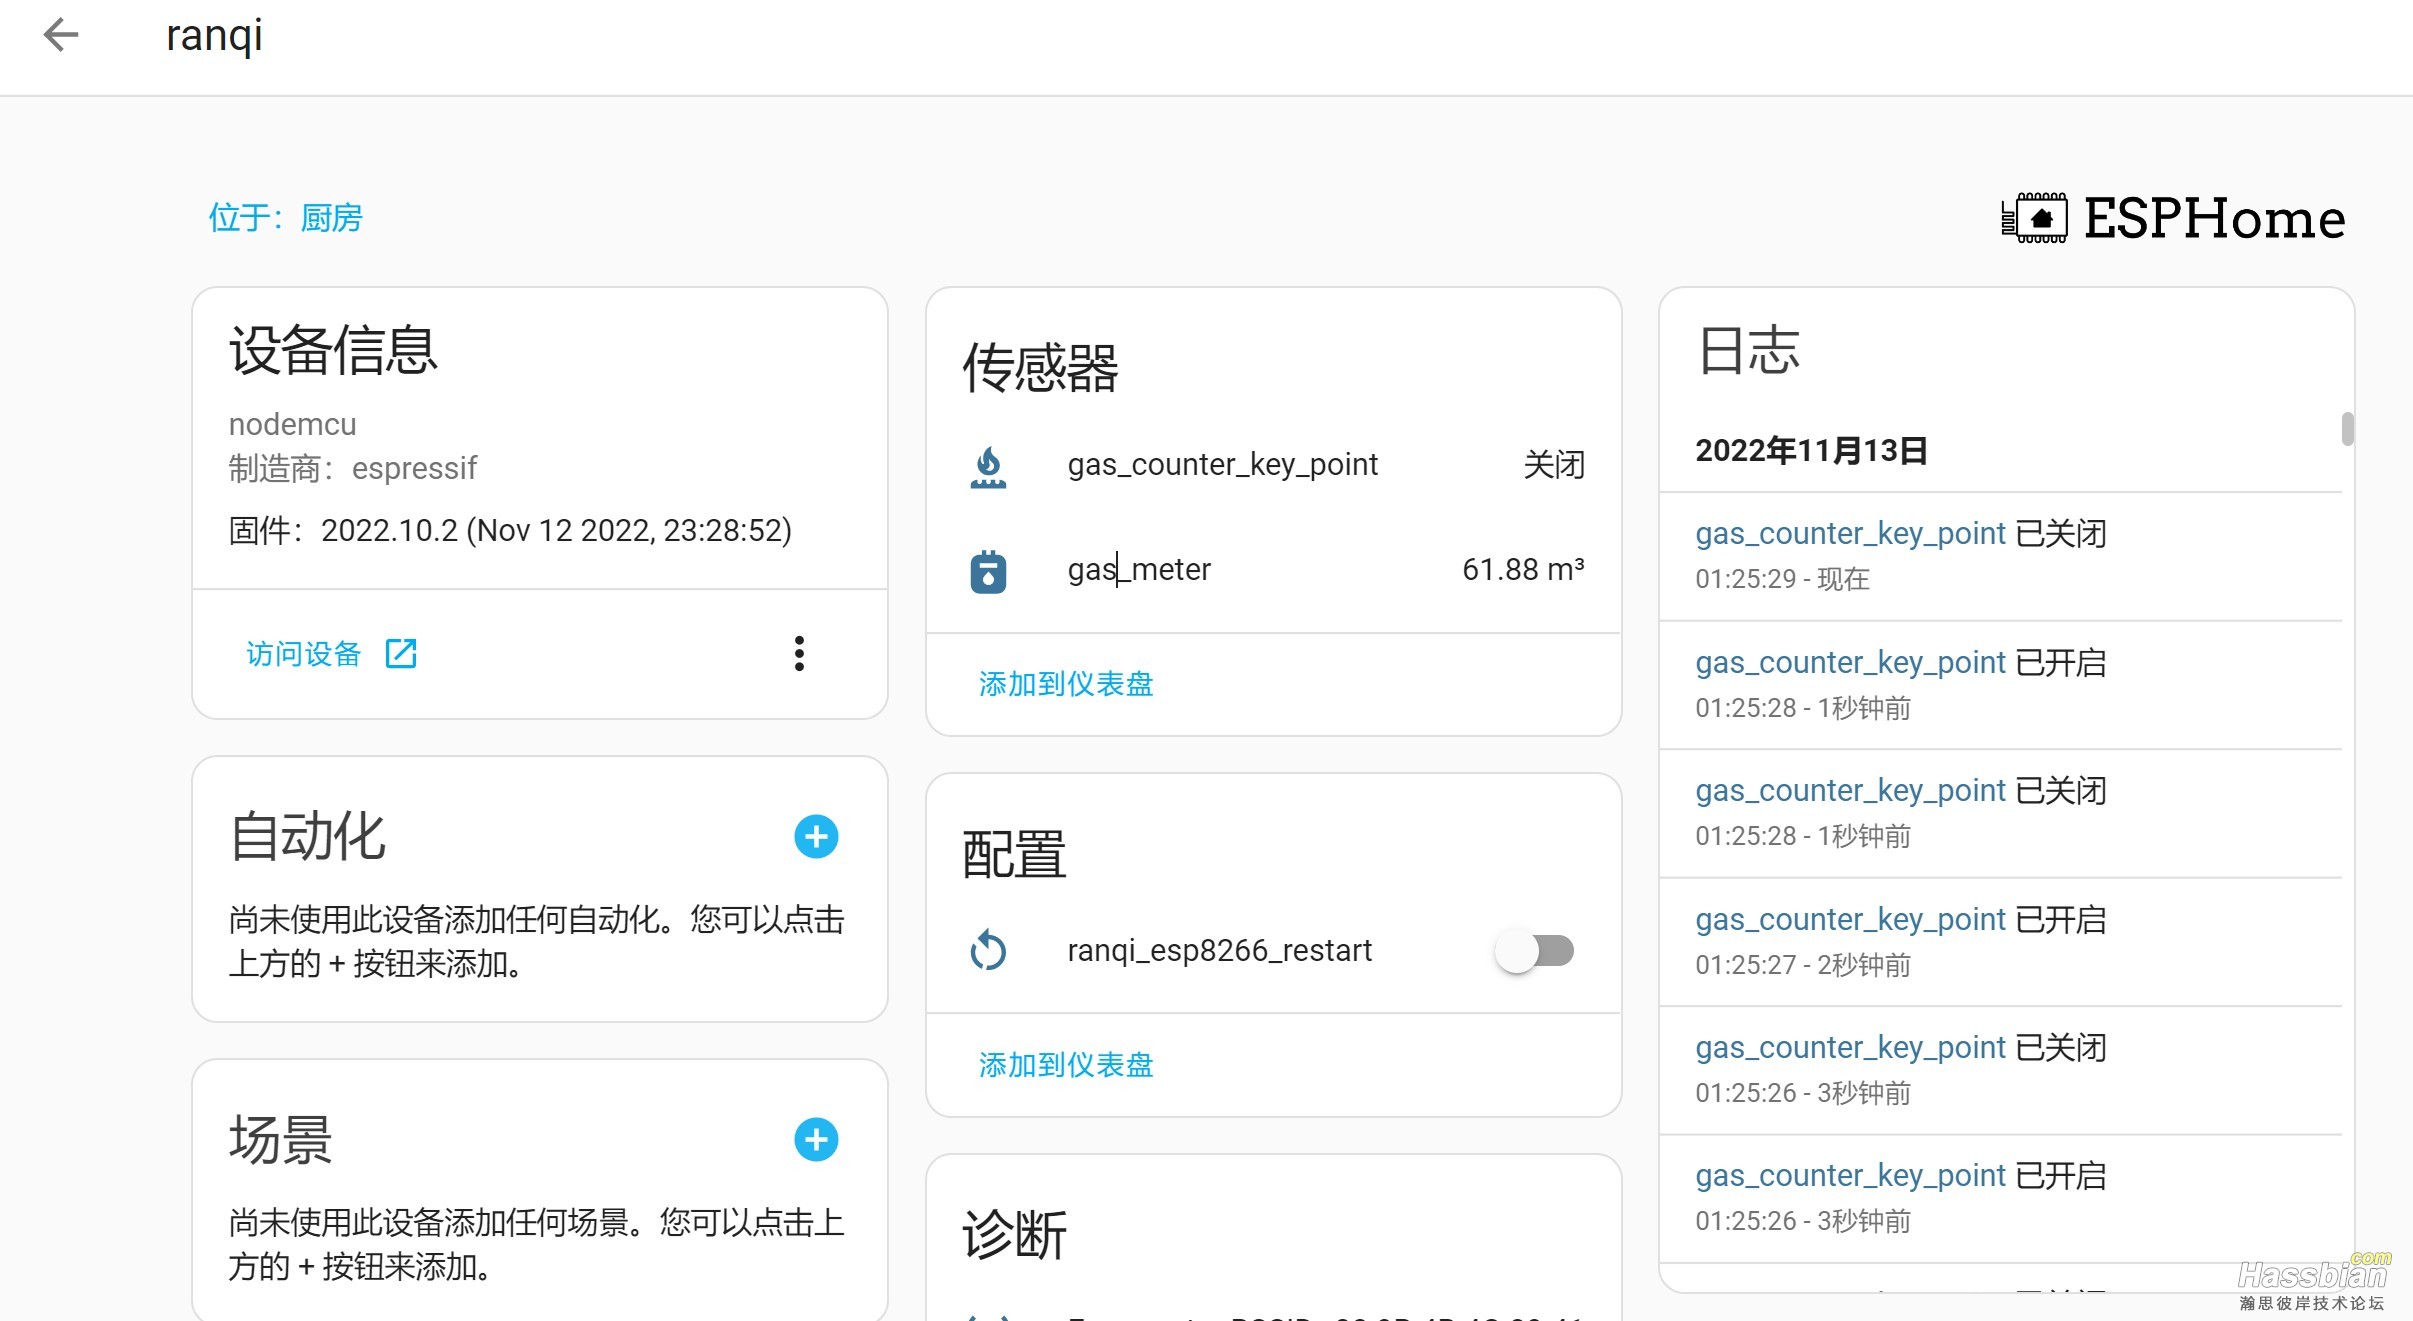
今天抽空学习研究了一下。燃气表一样的,Esphome出来效果也不错,如前面坛友说的一样,最麻烦的就是安装固定和调整距离。调整好了应该会很准确。
esphome:
  name: ranqi

esp8266:
  board: nodemcu
  restore_from_flash: true

# Enable logging
logger:

# Enable Home Assistant API
api:
  encryption:
    key: "XXXXXXXX"

ota:
  password: "XXXXXXXX"

wifi:
  ssid: !secret wifi_ssid
  password: !secret wifi_password

  # Enable fallback hotspot (captive portal) in case wifi connection fails
  ap:
    ssid: "Esphome-Ranqi Fallback Hotspot"
    password: "XXXXXXXX"

captive_portal:


web_server:
  port: 80

time:
  - platform: sntp
    id: sntp_time
    timezone: Asia/Shanghai
  - platform: homeassistant
    id: hastime
    timezone: Asia/Shanghai
    on_time:
      - cron: '* 10 2 * * *'  #每天2点10分重启
        then:
          - switch.toggle: ranqi_esp8266_restart

globals:
   - id: counter_int
     type: float
     restore_value: yes
     initial_value: '0'

binary_sensor:
  - platform: gpio
    pin:
      number: D1
      mode: INPUT_PULLUP
      inverted: True
    filters:
      - delayed_off: 1000ms
    name: gas_counter_key_point
    id: gas_counter_key_point
    icon: mdi:gas-burner
    on_release:
      then:
        - lambda: |-
            id(counter_int) += 0.01;
            id(gas_meter).publish_state(id(counter_int));

text_sensor:
  - platform: wifi_info
    ip_address:
      icon: "mdi:ip"
      name: Espcounter_IP
    ssid:
      name: Espcounter_SSID
      icon: "mdi:access-point-network"
    bssid:
      name: Espcounter_BSSID
      icon: "mdi:access-point-network"

number:
  - platform: template
    id: initial_value
    name: "gas_meter值校正"
    mode: box
    optimistic: true
    min_value: -1
    max_value: 100
    step: 0.01
    restore_value: false
    initial_value: 0
    on_value:
      then:
        - lambda: |-
            id(counter_int) += id(initial_value).state;
            id(gas_meter).publish_state(id(counter_int));

sensor:
  - platform: wifi_signal
    name: "WiFi Espcounter"
    update_interval: 60s

## 8266运行时间
  - platform: uptime
    name: Espcounter_Uptime_Sensor

  - platform: template
    name: "gas_meter"
    id: gas_meter
    lambda: !lambda |-
        return id(counter_int);
    unit_of_measurement: 'm³'
    state_class: 'total_increasing'
    accuracy_decimals: 2
    device_class: 'gas'
    update_interval: 60s

switch:
  - platform: restart  #用于重启NodeMCU
    name: "ranqi_esp8266_restart"
    id: ranqi_esp8266_restart
测试好esphome代码后安装测试,暂时用透明胶粘贴上去的:
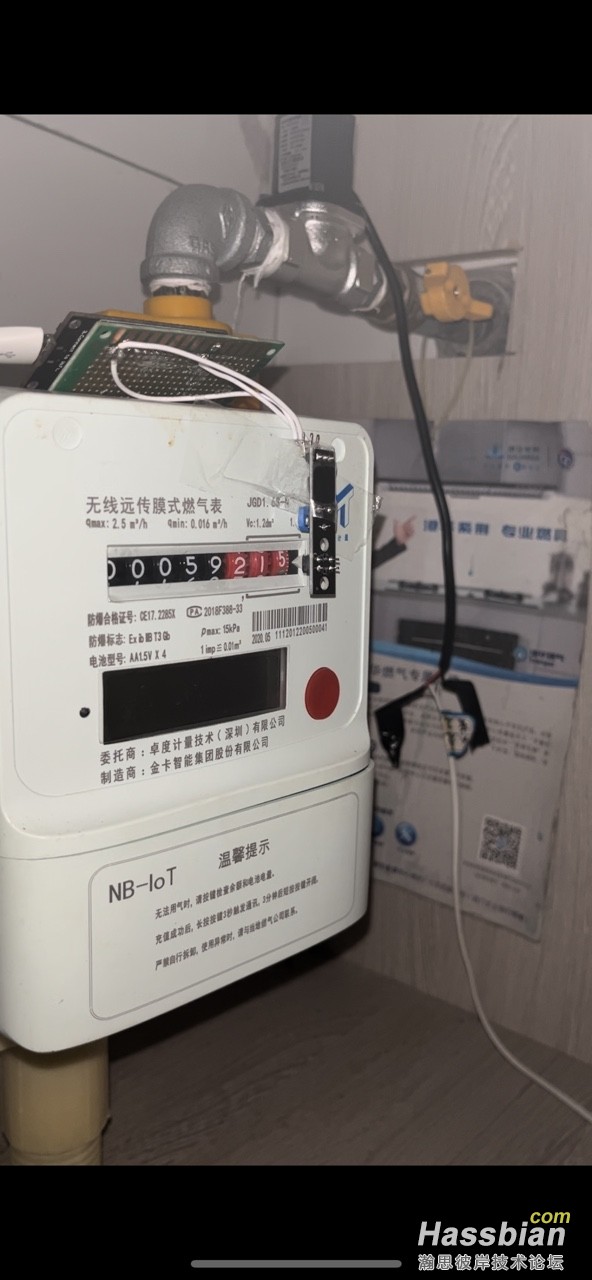
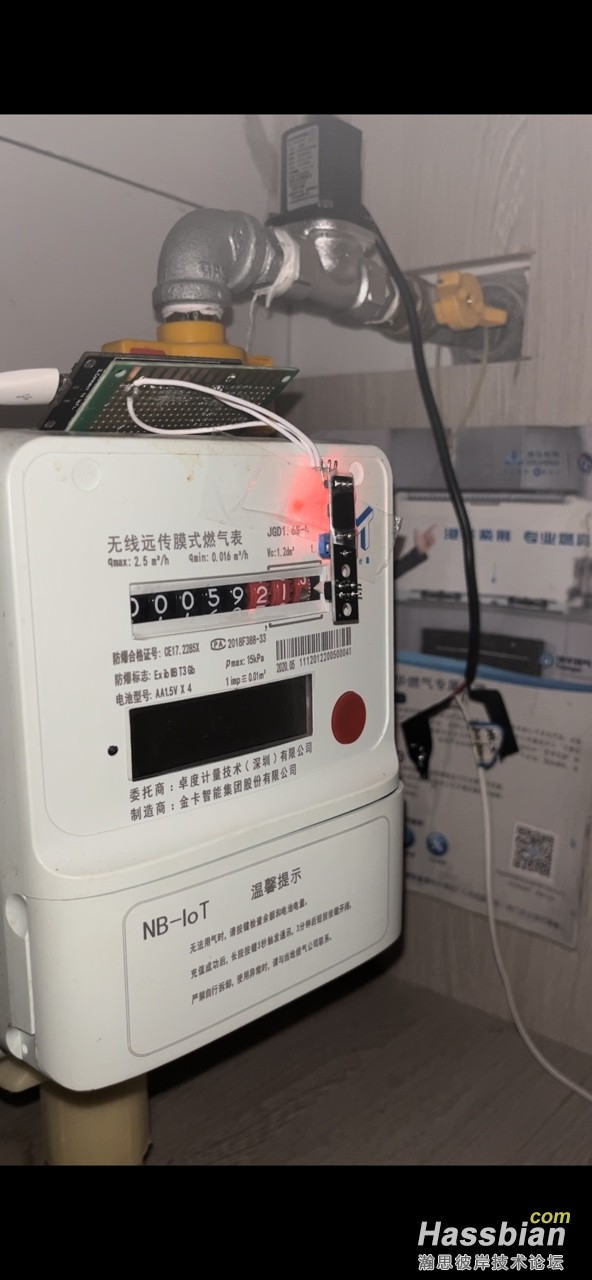
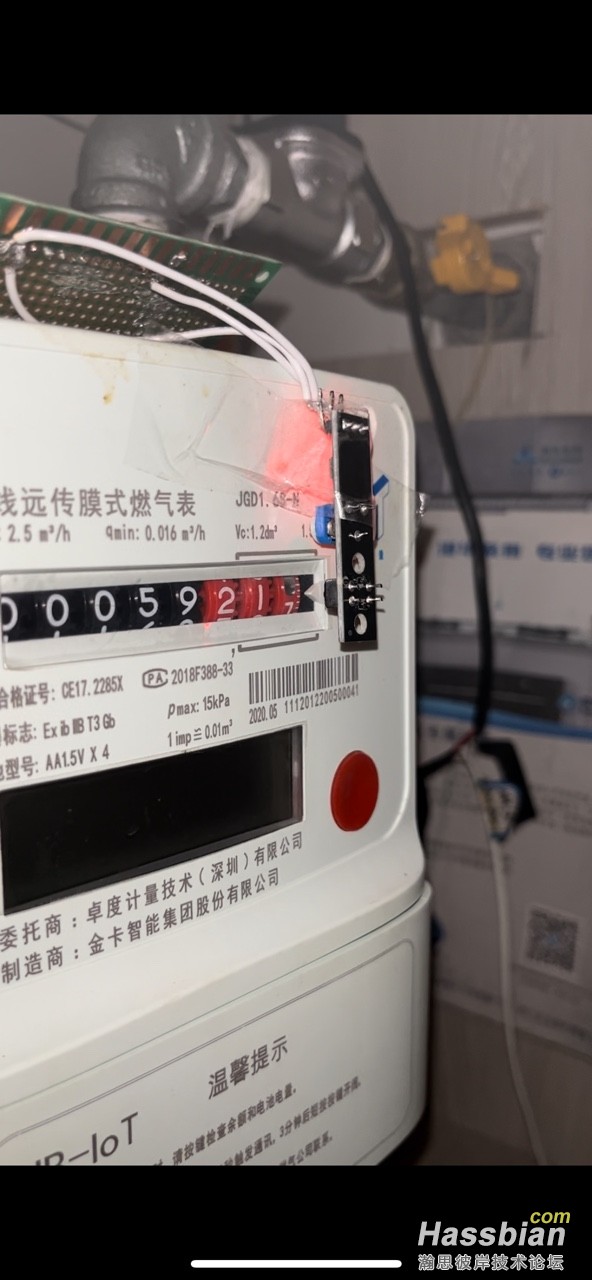
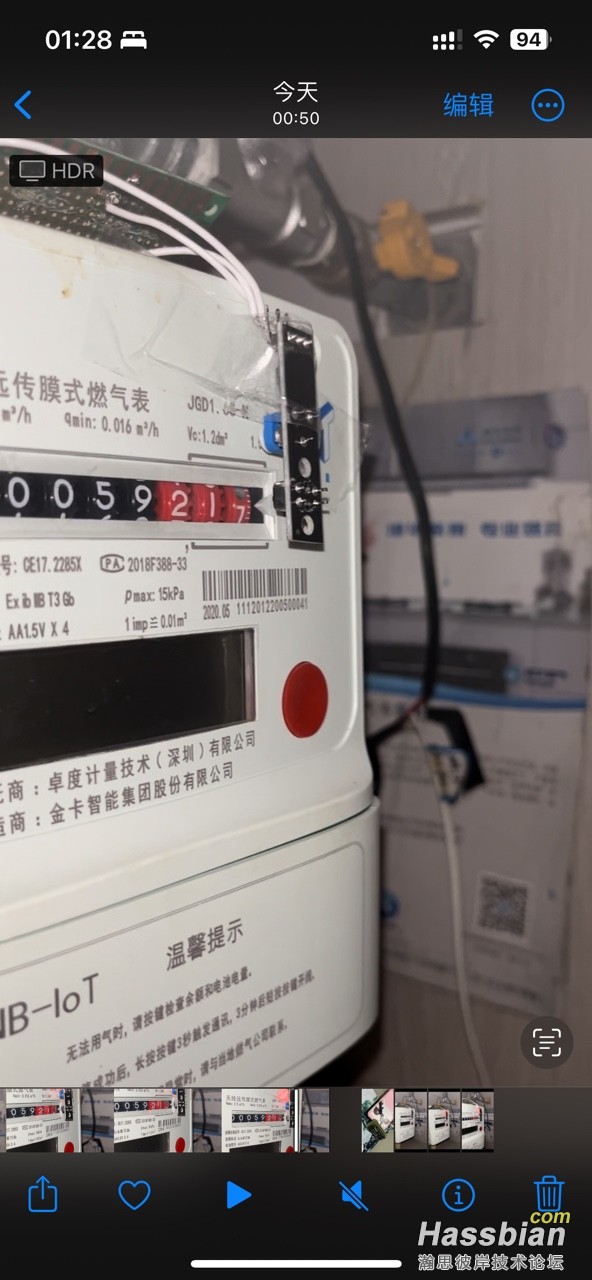
回头再想想有什么更简单方便的固定方法或工具,等安装方法稳固且简单后再使用吧。
|